Installing a crawl space dehumidifier might sound tricky, but it’s really just about getting rid of the dampness under your house.
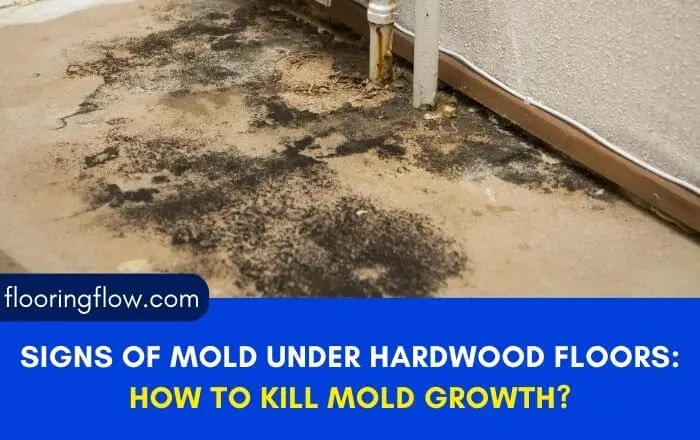
This is important because too much moisture can cause problems like mold and damage to your home and may cause vibrations and bounciness in floors. So, how to install crawl space dehumidifier?
To install a crawl space dehumidifier, place it in a central location, near an electrical outlet. Ensure proper drainage for the collected moisture. Plug it in, set the desired humidity level, and regularly maintain and clean the unit for optimal performance.
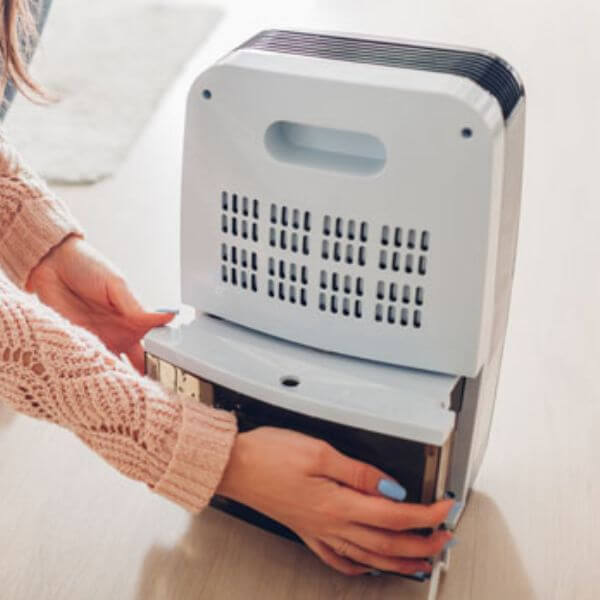
Besides dehumidifier, installing a french drain and sump pump can also be helpful in controlling moisture-related problems in crawl space.
I am going to share the installation process of dehumidifier in crawl space in detailed. So stay tuned!
Table of Contents
- 1 How To Install Crawl Space Dehumidifier?
- 2 Wrapping Up
- 3 FAQS Regarding How To Install Crawl Space Dehumidifier?
- 3.1 Q. Can I put a dehumidifier in my crawl space without encapsulation?
- 3.2 Q. Will dehumidifier keep crawl space dry?
- 3.3 Q. Should a dehumidifier run all the time?
- 3.4 Q. Should a dehumidifier be on the floor or table?
- 3.5 Q. How long do crawlspace dehumidifiers last?
- 3.6 Q. How much electricity does a crawl space dehumidifier use?
- 3.7 Q. Is it OK to leave dehumidifier on overnight?
- 3.8 Q. How long does a dehumidifier take to dry a floor?
- 3.9 Q. Should I turn off my crawl space dehumidifier in winter?
- 3.10 Q. Are dehumidifiers better in summer or winter?
- 3.11 Q. What temperature should a dehumidifier be set at?
- 3.12 Q. How much does it cost to install a dehumidifier in a crawl space?
How To Install Crawl Space Dehumidifier?
According to a study conducted by Science Direct, the most effective method for regulating moisture levels in outdoor air-ventilated crawl spaces involves the utilization of highly insulating ground covers and maintaining a low air exchange rate (1).
Installing a dehumidifier in alignment with these findings is important, as it further enhances moisture control, ensuring a healthier and more comfortable living environment while preserving the integrity of your home’s foundation.
As an experienced DIYer, I’ve successfully installed crawl space dehumidifiers to combat moisture issues. Here’s the step-by-step guide:
Step 1: Choose the Right Dehumidifier
First things first, selecting the right dehumidifier is critical. Efficiency, coverage area, and durability were my top priorities. Here are three excellent options that I found quite effective so far in my DIY projects:
1. ALORAIR Crawl Space Dehumidifier
I opted for the ALORAIR crawl space dehumidifier because it’s Energy Star Certified, ensuring cost-effective moisture removal.
It comes with a robust 120 PPD moisture removal capacity, effectively making a dry environment in my 1300 square feet crawl space.
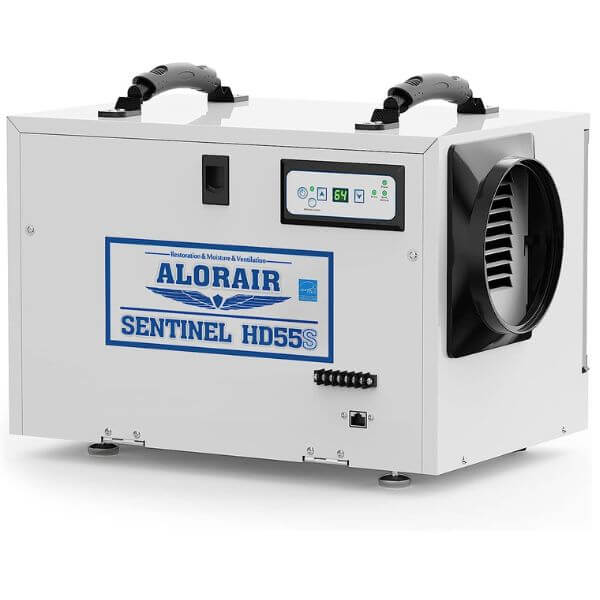
Its automatic defrost function operates efficiently in low temperatures, while the internal corrosion protection prolongs its lifespan.
The modern design, remote control option make it a top choice for crawl space maintenance, providing both performance and peace of mind.
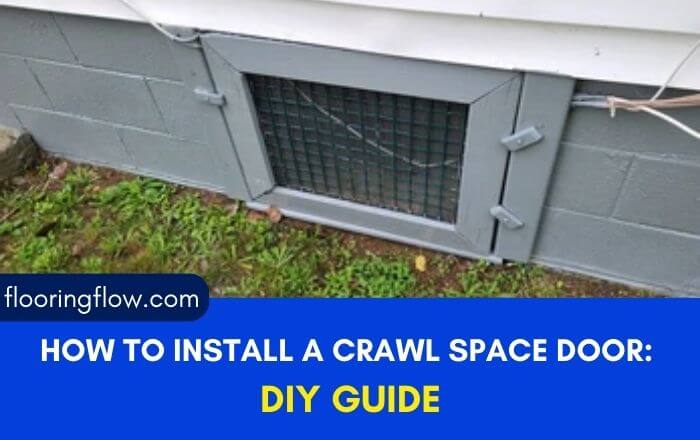
To safeguard your crawl space from moisture and pests, learn how to install a crawl space door easily with out DIY guide!
2. BaseAire Crawl Space/Basement Dehumidifier
Another choice is the BaseAire crawl space dehumidifier because it’s a reliable for crawl space needs.
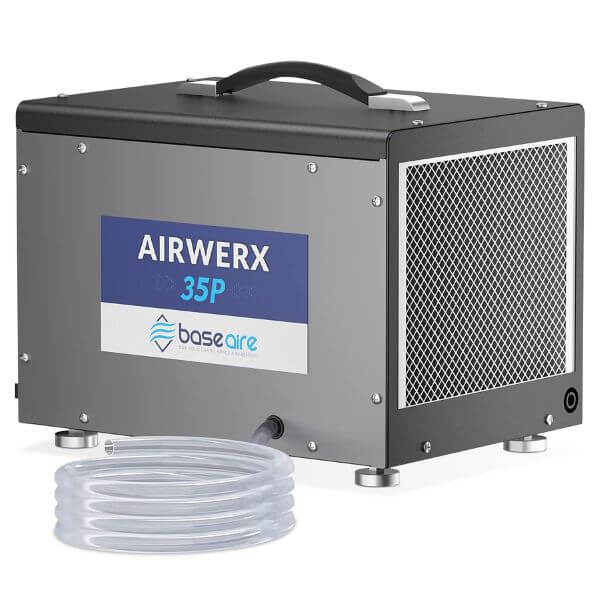
With its 70-pint capacity and built-in pump, it efficiently manages moisture in up to 1000 sq ft of space.
The Energy Star certification ensures it’s cost-effective and environmentally friendly. It’s a compact, powerful solution to keep my crawl space dry and protected.
3. ABESTORM Crawl Space Dehumidifiers
You can also go for ABESTORM crawl space dehumidifier for its impressive 113-pint capacity, which effectively handles high humidity in my 1,200 sq.ft space.
Its continuous drainage feature eliminates the need for constant water disposal, making it incredibly convenient.
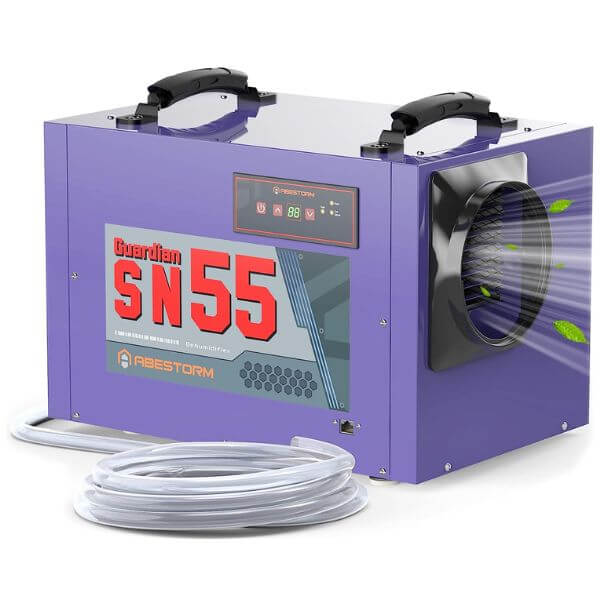
Moreover, its energy-efficient operation in low temperatures and modern design with digital controls truly stood out.
It’s more than just a dehumidifier; it’s a reliable solution to my moisture-related concerns, offering convenience and peace of mind.
If your hardwood floors vibrate and don’t know the causes, go through this blog on why does hardwood flooring vibrate?
Step 2: Find the Optimal Location
Now, let’s talk placement. I looked for a central spot in my crawl space, ensuring it was conveniently close to an electrical outlet.
Important Tip
Make sure to elevate the dehumidifier at least four to six inches above the crawl space floor.
This elevation is essential to ensure proper condensate drainage into either a condensate pump or a gravity drain.
Step 3: Prepare for Drainage
Proper drainage is crucial to the dehumidifier’s operation. I set up a hose to channel the collected moisture outside, and in some cases, I used a condensate pump when my crawl space was below my house’s level.
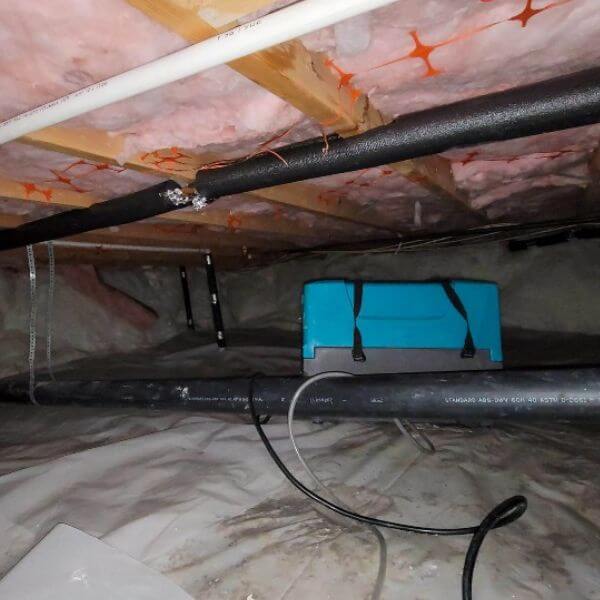
The key is to make sure water can flow out efficiently without causing any issues.
Step 4: Plug In Dehumidifier
Once my chosen dehumidifier was in its perfect spot and properly elevated, I simply plugged it into the nearest electrical outlet.
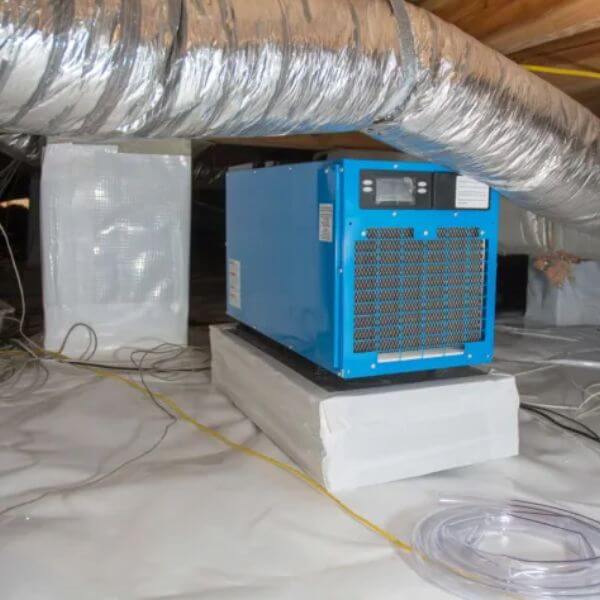
Most crawl space dehumidifiers come with a standard 115-volt plug, making it a hassle-free task.
Step 5: Set the Desired Humidity Level
Accessing the control panel was straightforward, and I set the desired humidity level. I generally aimed to maintain a humidity level between 30-50% in my crawl spaces.
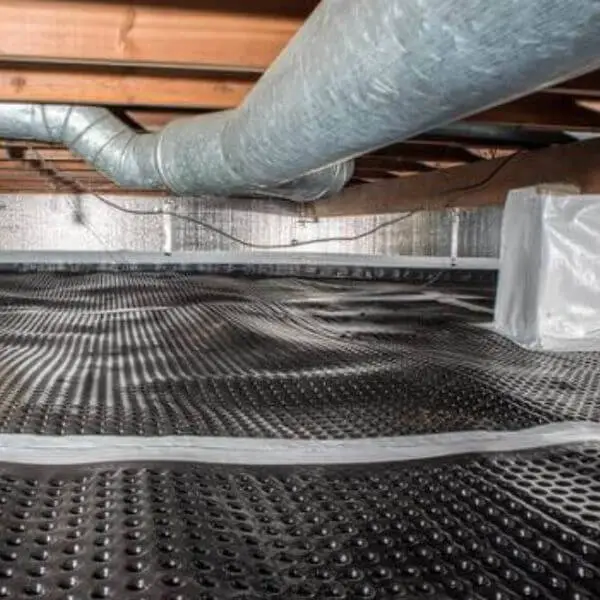
Thankfully, the ALORAIR Crawl Space Dehumidifier I chose had user-friendly controls that made this a breeze.
Step 6: Regular Maintenance Of Dehumidifier
To keep my dehumidifier running like a champ, I made it a point to perform regular maintenance.
This included cleaning the air filter, emptying the water collection tray, and checking for any clogs in the drainage system.
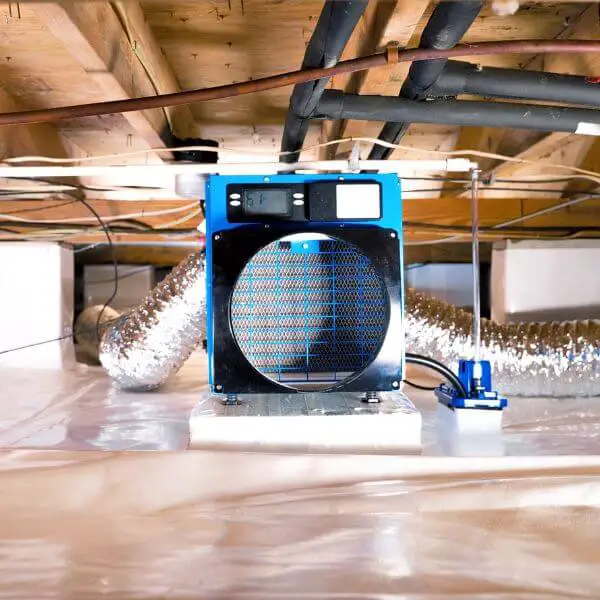
Remember, maintenance intervals may vary depending on the model, so consulting the user manual is a good practice.
Step 7: Monitor and Adjust
I kept a close eye on the humidity levels in my crawl space, especially during different seasons when humidity can fluctuate.
Adjusting the settings as needed ensured my crawl space stayed dry and problem-free.
Wrapping Up
By following this guide on how to install crawl space dehumidifier, you can avoid moisture issues in your crawl space, just like I did.
It’s all about creating a healthier living environment and safeguarding your crawl space from potential problems like mold and structural damage.
And remember, regular maintenance is the secret to your dehumidifier’s long-term success.
FAQS Regarding How To Install Crawl Space Dehumidifier?
Q. Can I put a dehumidifier in my crawl space without encapsulation?
If you want to use a dehumidifier in your crawl space, it’s best to first close off any openings that connect the crawl space to the outside.
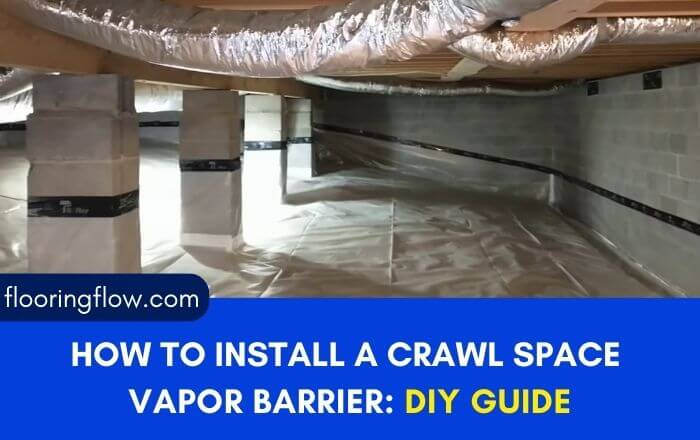
Otherwise, it’s like trying to cool a room by running the air conditioner with all the windows open, which won’t work well. So, seal up the crawl space before using a dehumidifier to make it effective.
Q. Will dehumidifier keep crawl space dry?
A dehumidifier can help maintain a dry crawl space, but it’s important to seal off the crawl space properly by closing any vents and encapsulating it. This way, the dehumidifier can effectively control humidity levels.
Q. Should a dehumidifier run all the time?
To maintain the right indoor humidity levels (ideally between 35% to 50%), it’s advised to have your dehumidifier running for approximately 12 hours each day.
Q. Should a dehumidifier be on the floor or table?
It’s a good idea to place the dehumidifier on a table or a portion of a laundry sink. Elevating it off the floor can help it work more effectively.
Q. How long do crawlspace dehumidifiers last?
A crawl space dehumidifier typically lasts 3 to 5 years with proper maintenance.
The lifespan of a crawl space dehumidifier can vary based on factors like the brand and model, but regular maintenance can help it stay functional for several years within this range.
Q. How much electricity does a crawl space dehumidifier use?
A standard crawl space dehumidifier typically consumes about 580 to 850 watts of electricity, which is a considerable amount of energy.
Q. Is it OK to leave dehumidifier on overnight?
It’s okay to run a dehumidifier overnight. Just keep in mind that it will generate some noise while operating.
Q. How long does a dehumidifier take to dry a floor?
To dry a floor effectively using a dehumidifier, set it to the highest setting and position it in the center of the room. Let it run for a minimum of 24 hours.
Additionally, place fans around the room to ensure even airflow across the entire floor surface.
For efficient floor drying, use a high setting on the dehumidifier, center it in the room, and run it for at least 24 hours. Use fans to ensure uniform drying.
Q. Should I turn off my crawl space dehumidifier in winter?
In the winter, it’s good to keep your crawl space dehumidifier running if the humidity consistently remains above 50%.
To monitor humidity levels, consider installing a wall humidity gauge to measure the relative humidity in the room.
Q. Are dehumidifiers better in summer or winter?
It’s best to utilize a dehumidifier in the spring, summer, and early fall to control moisture. However, during the winter months, it’s recommended to unplug and store the unit to prevent any potential damage.
Q. What temperature should a dehumidifier be set at?
The ideal temperature range for standard refrigerant dehumidifiers to work effectively is approximately 60 to 85 degrees Fahrenheit, with a relative humidity level between 60% and 80%.
Q. How much does it cost to install a dehumidifier in a crawl space?
Installing a dehumidifier in a crawl space typically ranges from $1,500 to $2,500, and installation may not be necessary.
Operating a dehumidifier can increase your monthly energy bill by $10 to $30. If you prefer renting, it typically costs between $40 to $70 per day or $200 to $300 per week.

As a co-creator of FlooringFlow.com, Emma Sophia comes on board to answer all your questions related to any flooring problems. Together with John Henry, she’s gained extensive experience in fixing many flooring problems in their own house as well as in friends and family’s. Now, she wants to share her knowledge that she gained during floor remodeling, restoring, and DIY projects.

