Crawl Space Vapor Barrier not only controls moisture levels, but it also prevents mold growth, protects wooden structures, and can even improve your home’s energy efficiency.
Learning how to install DIY crawl space vapor barrier can not only save you money but also enhance the overall health and longevity of your home.
To install a crawl space vapor barrier, clean the area, lay a plastic sheet with 6-inch seam overlaps, and secure it to walls with adhesive or fasteners. Trim excess material and seal seams with vapor barrier tape for moisture prevention.

Before we dive into the installation process, it’s essential to understand the importance of a crawl space vapor barrier and how it works.
Get to know the importance of installing a sump pump with your crawl space vapor barrier for comprehensive moisture management.
Table of Contents
- 1 Why Installing a Crawl Space Vapor Barrier is Important?
- 2 What Type of Plastic Sheeting Do I Need for a Crawl Space Vapor Barrier?
- 3 Is It Necessary To Remove Mold First?
- 4 How To Remove Mold Before Installing A Crawl Space Vapor Barrier?
- 5 What To Use To Kill Mold In Crawl Space?
- 6 How To Install A DIY Crawl Space Vapor Barrier? – Step-by-step Guide
- 6.1 Step 1: Gather Materials
- 6.2 Step 2: Remove Mold
- 6.3 Step 3: Clean the Crawl Space
- 6.4 Step 4: Measure and Cut the Vapor Barrier Sheets
- 6.5 Step 5: Lay the Vapor Barrier Sheets
- 6.6 Step 6: Secure the Vapor Barrier Sheets
- 6.7 Step 7: Seal the Seams
- 6.8 Step 8: Trim Excess Material
- 6.9 Step 9: Final Inspection
- 6.10 Step 10: Monitor and Maintain
- 7 How Much Does It Cost To Install in Crawl Spaces: Professionals VS DIY
- 8 Wrapping Up
- 9 FAQs
Why Installing a Crawl Space Vapor Barrier is Important?
Crawlspaces are prone to moisture and decay issues due to their contact with the ground, as verified by Energy Star (1).
By installing a vapor barrier, you create a barrier between the ground and the rest of your home, preventing moisture from seeping into your crawl space and ultimately your living areas. Here are some key reasons why a crawl space vapor barrier is important:
Moisture Control
One of the primary purposes of a crawl space vapor barrier is to control moisture levels. The ground beneath a crawl space can release moisture through evaporation and groundwater intrusion.
If left unchecked, this moisture can lead to a host of problems, including mold growth, wood rot, and structural damage. A vapor barrier acts as a moisture barrier, preventing this excess moisture from entering the crawl space.
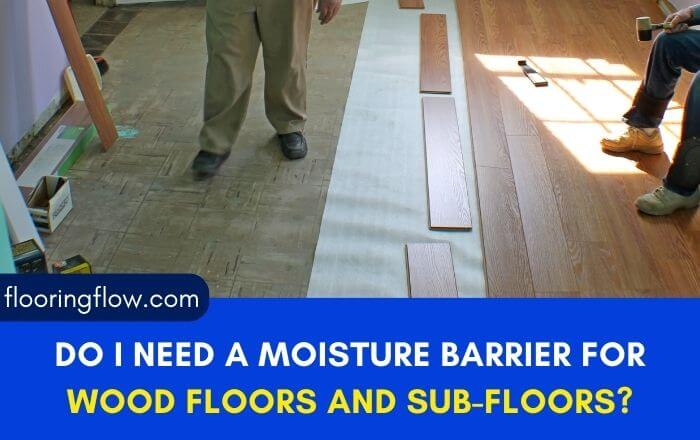
If you are still not aware of moisture symptoms under your floors, go through this article on moisture under hardwood floors to prevent future damages to your home.
Mold Prevention
Excessive moisture in crawl spaces creates the ideal conditions for mold growth. Mold not only damages the structure of your home but can also pose health risks to occupants.
By keeping moisture levels in check with a vapor barrier, you can significantly reduce the likelihood of mold development.
Improved Indoor Air Quality
A damp crawl space can contribute to poor indoor air quality in your home. Moisture can lead to the release of musty odors and harmful airborne contaminants.
A vapor barrier helps create a healthier living environment by preventing moisture-related pollutants from entering your home’s air.
Energy Efficiency
Moist crawl spaces can also impact the energy efficiency of your home. Excess moisture can lead to higher humidity levels inside your home, making it feel uncomfortable and causing your HVAC system to work harder to maintain a comfortable temperature.
By installing a vapor barrier, you can help regulate humidity levels and potentially reduce your energy bills.
Structural Integrity
Moisture in crawl spaces can compromise the structural integrity of your home. Wooden beams and joists can weaken and rot over time when exposed to moisture.
A vapor barrier acts as a protective shield, preserving the integrity of these essential components and ensuring the long-term stability of your home.
Pest Prevention
Damp crawl spaces can attract pests like termites, ants, and rodents. These pests can cause extensive damage to your home and can be challenging to eradicate once they infest the crawl space.
A vapor barrier can help deter pests by creating an inhospitable environment for them.
Increased Home Value
A well-maintained crawl space with a vapor barrier can enhance the overall value of your home.
It demonstrates to potential buyers that you have taken proactive steps to protect your home from moisture-related issues, making your property more appealing on the real estate market.
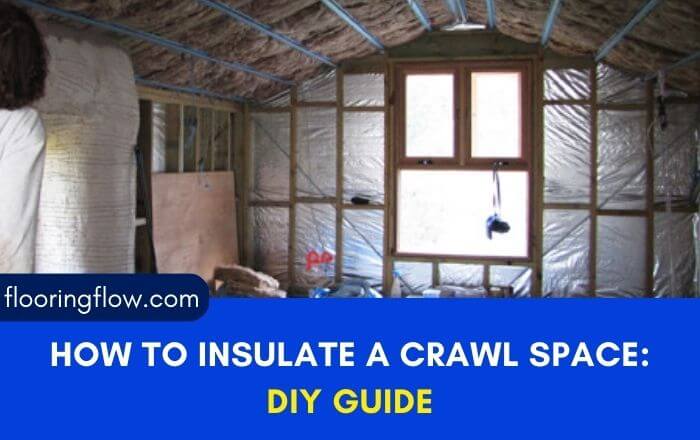
Find out the details of installing a French drain system in crawl space for moisture control strategy and the longevity of your home.
What Type of Plastic Sheeting Do I Need for a Crawl Space Vapor Barrier?

For a crawl space vapor barrier, you should use 6 mil thick reinforced polyethylene plastic sheeting, commonly known as “poly.”
It is a short-term cost-saving choice for homeowners, offering an effective vapor barrier and effectively preventing moisture from entering your crawl space.
Is It Necessary To Remove Mold First?
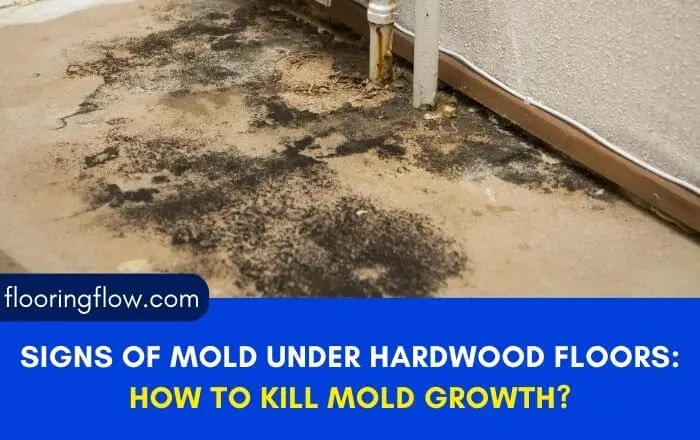
It is necessary to remove mold before installing a crawl space vapor barrier. Installing a vapor barrier over existing mold will not resolve the issue and may actually make it worse.
Mold can continue to grow and spread behind the barrier, leading to further damage and potential health risks.
According to the United States Environmental Protection Agency (EPA), if the mold covers an area of less than 10 square feet (equivalent to a 3ft. by 3ft. area), you have the option to perform mold cleanup yourself (2).
However, for larger mold infestations or situations where mold is present in the HVAC system or the crawl space itself, it is recommended to consult with a professional mold remediation expert.
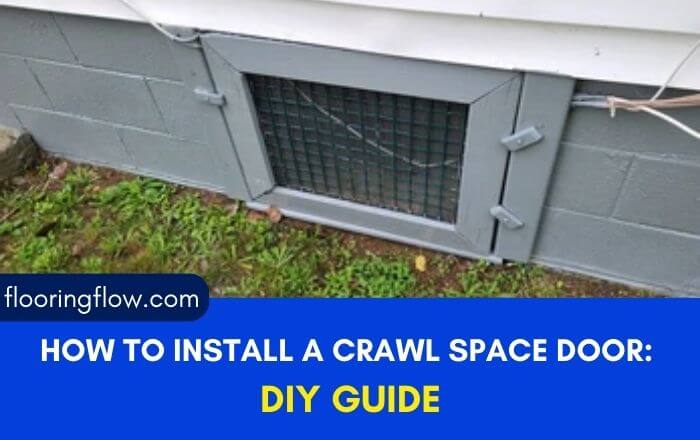
Here’s how a properly installed crawl space access door can not only improve accessibility but also enhance the overall effectiveness of your vapor barrier installation.
How To Remove Mold Before Installing A Crawl Space Vapor Barrier?

Here are some important steps to consider when dealing with mold in a crawl space before installing a vapor barrier:
Assessment
Before starting any cleanup, assess the extent of the mold problem. Identify the source of moisture that is promoting mold growth and address it to prevent future issues.
Protective Gear
When handling mold, wear appropriate protective gear, including gloves, a mask, and safety goggles, to minimize exposure to mold spores.
Containment
Isolate the affected area to prevent mold spores from spreading to other parts of your home. Seal off the crawl space and create a containment barrier using plastic sheeting and tape.
Mold Removal
Carefully remove the mold-infested materials, such as insulation, wood, or drywall, from the crawl space. Dispose of them properly, following local regulations for mold-contaminated materials.
What To Use To Kill Mold In Crawl Space?
To effectively eliminate mold in a crawl space, one commonly recommended approach is the use of vinegar due to its antimicrobial properties.
You can create a solution by mixing vinegar and water in equal parts, combining them in a spray bottle.
Proceed to spray this mixture onto the mold-affected walls or floor within the crawl space. Allow it to sit for a few minutes before thoroughly scrubbing the area.
Vinegar is a popular choice for mold removal because it has the capability to combat various types of bacteria, including molds.
Ensure that the crawl space is thoroughly dried to prevent further moisture issues. You may need to use dehumidifiers or improve ventilation in the space.
Address the root cause of moisture in the crawl space by fixing any leaks, improving drainage, and ensuring proper ventilation. This step is crucial to prevent future mold growth.
Don’t miss out the hidden dangers that bouncy and vibrating floors can pose to your home’s structural integrity and your family’s safety.
How To Install A DIY Crawl Space Vapor Barrier? – Step-by-step Guide
To help you install a crawl space vapor barrier yourself, I am going to share my personal DIY guide to installing a crawl space vapor barrier, step by step.
I hope sharing my own experiences helps you tackle this project with confidence!
Step 1: Gather Materials

Double-Sided Butyl Tape
I would recommend using TAPEM Butyl double sided tape for installing a crawl space vapor barrier because it also performs exceptionally well for sheet adhesion.
The premium butyl rubber and tenacious adhesive ensure a secure and long-lasting seal, even in the challenging conditions of a crawl space. Plus, the included plastic knife makes the installation process smooth and efficient.
Vapor tape
- ZIP System Flashing Tape
I chose the ZIP System Flashing Tape for my crawl space vapor barrier installation because its advanced acrylic adhesive ensured a perfect airtight and watertight seal.
Even in the challenging temperature range of 0 – 120 degrees Fahrenheit, this tape held up remarkably well, making the installation process smooth and reliable.

Plus, knowing it could withstand 180 days of direct UV exposure gave me confidence in its long-term durability, making it the ideal choice for protecting my crawl space from moisture.
Alternatively, you can also use Blue Summit Supplies Vapor Barrier Tape that is quite effective due to its top-notch adhesive quality, ensuring a tight seal.
The 9mm polyethylene tape’s durability and moisture resistance proved invaluable in creating a reliable moisture barrier in my previous crawl space project. It even came in handy for other home improvement tasks like patching and repairs.
Vapor barrier fasteners
The Vapor Barrier fasteners by ELK worked amazingly well when I was securing a crawl space vapor barrier.
I was amazed at how well these 1-inch fasteners held the plastic moisture barrier in place, ensuring a tight and secure seal.
They made the installation process incredibly smooth and added that finishing touch to encapsulating my crawl space, leaving it looking clean and professionally done.
Box cutter
I also used the Premium Utility Knife set due to its durable metal design and rubber grip that made cutting through the plastic moisture barrier and sealing materials a breeze.
The retractable blade and easy blade replacement feature saved me time and effort during the installation, making it an indispensable tool.
Vapor sheets

NASATECH 6 mil thick reinforced polyethylene plastic sheeting truly delivered outstanding results for my current crawl space vapor barrier installation work.
Its super strong reinforced scrim and solid white side made it incredibly durable and effective in sealing off moisture.
The added UV inhibitor not only ensured a longer lifespan but also simplified the installation process, making it useful for keeping my crawl space dry and protected.
I opted for Aluf plastics plastic sheeting in a previous project because it proved to be a versatile and cost-effective solution for my crawl space vapor barrier.
Its extra-strong 6 Mil thickness provided excellent moisture resistance, and the clear design allowed for easy monitoring of the crawl space.
Using this sheeting not only saved me money but also offered peace of mind, knowing my crawl space was well-protected against moisture and humidity.
Must explore the important role of crawl space ventilation and whether it’s best to keep crawl space vents open or closed for optimal moisture control.
Step 2: Remove Mold
My crawl space had a mold problem, so I assessed the extent of it. I wanted to get rid of it for good, so I identified the source of moisture causing the mold growth and fixed it.
Then, I sealed off the crawl space with plastic sheeting and tape to prevent mold spores from spreading.
Step 3: Clean the Crawl Space

With mold dealt with, I cleared out any debris, dirt, and random items from the crawl space. It was important to start with a clean slate.
Step 4: Measure and Cut the Vapor Barrier Sheets

Next, I measured the length and width of the crawl space, making sure to add a bit extra to my measurements for overlap and excess material.

Then, I used scissors and a utility knife to cut the NASATECH vapor barrier sheets to the right size.
Learn the importance of crawl space encapsulation and discover why it’s a vital step to consider alongside your dehumidifier installation for moisture control.
Step 5: Lay the Vapor Barrier Sheets

I started with wrapping it up to the walls first by a few inches to create a seamless transition. Getting it centered and aligned was crucial.

Then, I extended the sheet of the vapor barrier on the crawl space floor.
Step 6: Secure the Vapor Barrier Sheets
Using those trusty vapor barrier fasteners, I secured the plastic sheets to the walls and floor. I spaced them every 12 to 18 inches along the edges and seams, making sure the sheets were nice and tight.
Step 7: Seal the Seams

To make everything airtight, I grabbed my ZIP system vapor barrier tape. This stuff was essential. I ran it over the seams where the sheets overlapped and pressed it down firmly. No moisture was getting through those seams!
Step 8: Trim Excess Material
Now, with a box cutter or utility knife, I carefully trimmed any excess plastic sheeting. This part was about making it look neat and tidy.
Step 9: Final Inspection

Before calling it a day, I did a thorough inspection. Every nook and cranny of the crawl space needed to be covered. I checked for gaps, exposed areas, and any loose fasteners. If I saw something off, I fixed it on the spot.
Step 10: Monitor and Maintain
With the crawl space vapor barrier in place, I knew my job wasn’t done. Regular inspections were key.
I made sure to check on it regularly to ensure it stayed intact and did its job. If I noticed any damage or signs of moisture, I addressed them promptly.
How Much Does It Cost To Install in Crawl Spaces: Professionals VS DIY
When you hire professionals for installing a vapor barrier in crawl spaces, it can typically cost from $1,200 to $4,000, with an average price of around $2,000.
This cost includes both materials and labor when done by experts. Conversely, if you choose to install a vapor barrier on your own (DIY), the expense is usually much lower, typically ranging from $100 to $500.
Wrapping Up
Installing a crawl space vapor barrier is a cost-effective and essential DIY project that can safeguard your home from moisture-related issues, improve indoor air quality, and enhance energy efficiency.
By following the step-by-step guide on how to install a crawl space vapor barrier and using the recommended materials, you can take proactive measures to protect your home’s structural integrity and overall value.
Whether you choose to hire professionals or tackle it yourself, a well-installed vapor barrier is an investment in the longevity and health of your home.
FAQs
Q. Can you walk on vapor barrier?
Walking on a vapor barrier is possible if you opt for a thicker one. Nevertheless, it’s advisable to install dimple matting beneath the vapor barrier. Dimple matting is also made of polyethylene and features small circular indentations.
Q. Can I install a vapor barrier myself?
Installing a vapor barrier in a crawl space can be a feasible DIY project. However, it’s important to note that it’s physically demanding work, involving crawling on hands and knees in a dim and often moist environment. While not overly complicated or costly, it does require effort.
Q. Can moisture penetrate a vapor barrier?
The condensation that forms underneath a vapor barrier can be somewhat unsettling to observe at times, as the barrier is transparent. However, this condensation is a normal occurrence and does not indicate any issues with the barrier’s effectiveness.
Q. Can a vapor barrier decrease humidity levels?
A vapor barrier, while seemingly straightforward, plays a crucial role in protecting your home from potential damage and improving its long-term energy efficiency by minimizing overall humidity.
Q. What occurs with moisture beneath a vapor barrier?
When a vapor barrier is correctly installed, it serves as a barrier that prevents moisture from the ground from infiltrating the floor joists, insulation, sub-flooring, and other materials situated in a crawl space.
John Henry is a passionate co-creator of FlooringFlow.com. a website dedicated to answer all of your flooring related questions. After taking the challenges of flooring DIYs while learning skills for years, John is now ready to share his knowledge related to floor remodeling and projects with you.


![70 Bedroom Color Schemes: [year] Home Bedroom Refresh 70 Bedroom Color Schemes: [year] Home Bedroom Refresh](https://flooringflow.com/wp-content/uploads/2024/07/25-Cool-4th-of-July-Decorations-for-Outdoor-Patio-to-Celebrate-in-Style-16.jpg)
