Last updated on April 25th, 2024 at 12:31 am
Hardwood floors require reasonable maintenance as they are prone to damages. They are surely an exquisite feature and a value addition but they come at a cost of high maintenance and dangers lurking all over them.
One of the most common and inevitable dangers is scratching on the floors. Pet paws, children’s toys, extensive traffic, and dragging objects on the floors are all factors that can cause the floors to be scratched. Therefore, it becomes one’s duty to fix the scratched surfaces to ensure a smooth appearance.
To fix scratches on hardwood floors, you can sand them to remove surface scratches and refresh the wood grain. However, for finished or varnished floors, it’s best to use touch-up kits or fillers as alternatives. These options are user-friendly and will help restore the beauty of your floors.
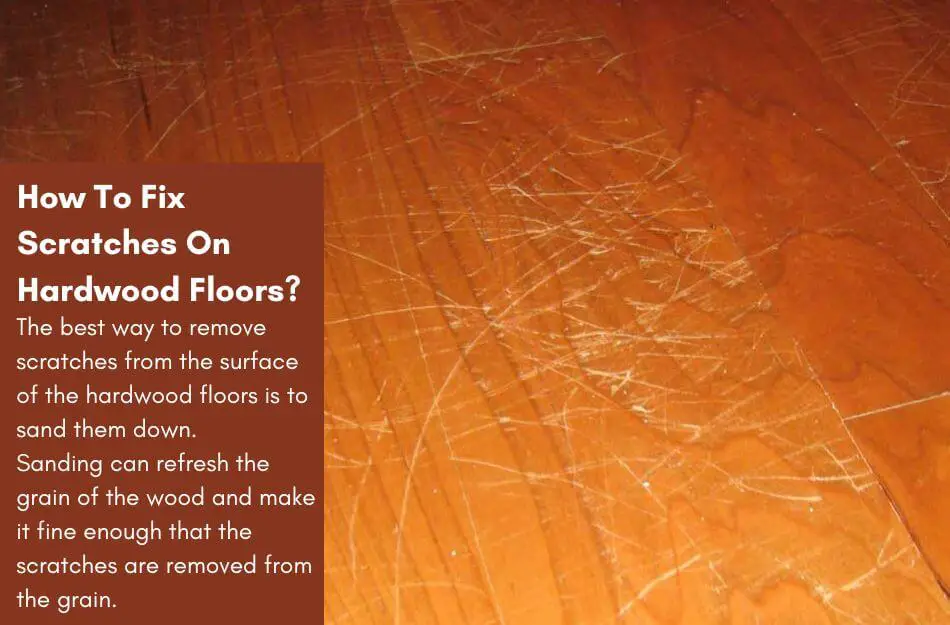
However, this method is not entirely suitable for scratches on a finished or varnished floor.
Therefore, there are other methods as well which can help to fix the scratches on hardwood floors which are mentioned later on in the article.
Make sure to check them out and find the best solution for your scratched floors.
Table of Contents
How To Fix Scratches On Hardwood Floors?
Scratches on hardwood floors can be fixed using various methods such as staining, adding a coat of finish, polishing the wood, and a few more.
Hardwood floors receive traffic daily, which is why they get so worn out. During this process, they might even get scratches when something heavy is dragged on the floor or due to additional traffic.
While this can cause a stain on your floor’s spotless appearance, it is not a very serious issue or something of permanent damage.
But, it is a minor problem that can be fixed using a few methods and can be prevented in the future with only a few simple steps.
Therefore, as you would be curious enough to know how to fix scratches on hardwood floors, let’s get right into it.
Clean The Area
You won’t be able to fix the scratched surface if you can’t access the surface itself. Dirty floors are often hard to fix, and you won’t be able to carry out any process to make the surface new again.
Hence, before attempting any repair methods, the floor must be cleared of furniture or other items to ensure the entire floor is cleaned properly.
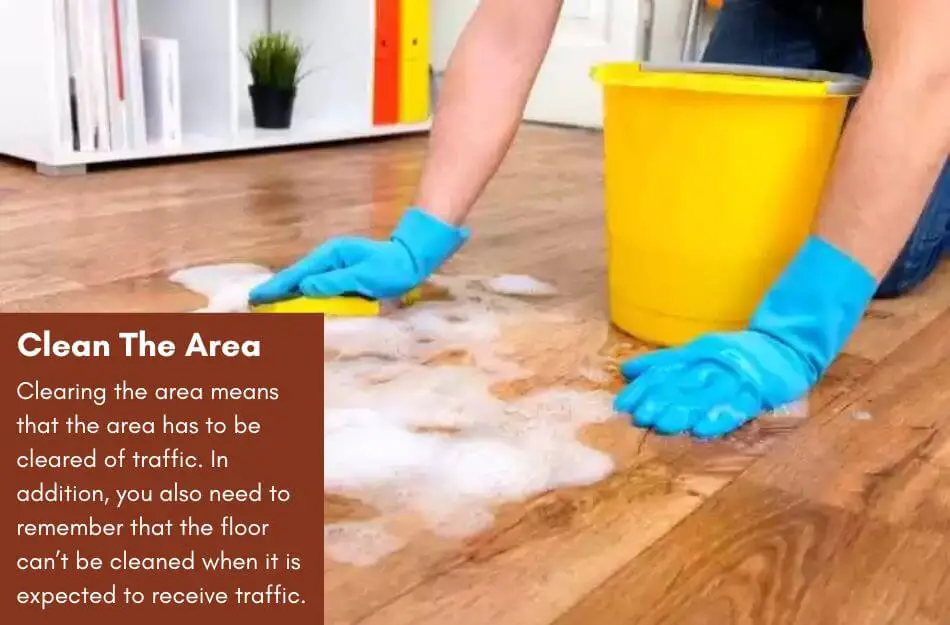
Moreover, clearing the area means that the area has to be cleared of traffic. In addition, you also need to remember that the floor can’t be cleaned when it is expected to receive traffic.
Therefore, you can choose a suitable time when the hardwood floors are not expected to receive any traffic, or you can put a barrier at the room’s entrance to prevent anyone from entering and stepping on the floors until they have been cleaned.
Once the area is cleared and no traffic is expected, take your desired cleaning solvent, natural or commercial.
Dilute the cleaning agent in water according to the instructions, and make sure you don’t use too much of the solution, as it can leave sticky residues on the floor.
In addition, if you use a homemade solution, dissolve it in the water to the point where it is not too harsh for the unfinished floors.
Then take two buckets of water and fill one with the cleaning solution and the other with clean water. Use a clean cloth or a sponge and wipe the surface to clean it.
You can also use a soft or used toothbrush to scrub off the layer and make the surface clean again. However, it would be best never to attempt wet-mopping on an unfinished hardwood floor.
Wet mopping is never advised for hardwood floors, even if finished, as the increased water exposure can destroy the wood fibers.
Dry The Floors
Repair procedures can’t be carried out on wet floors or floors with even a small amount of dampness. Therefore, it is crucial to dry the floors completely so you can work on the surface to clean the scratches.
Cleaning and drying remove a lot of dirt and dust, which might add to the floors’ scratchiness.
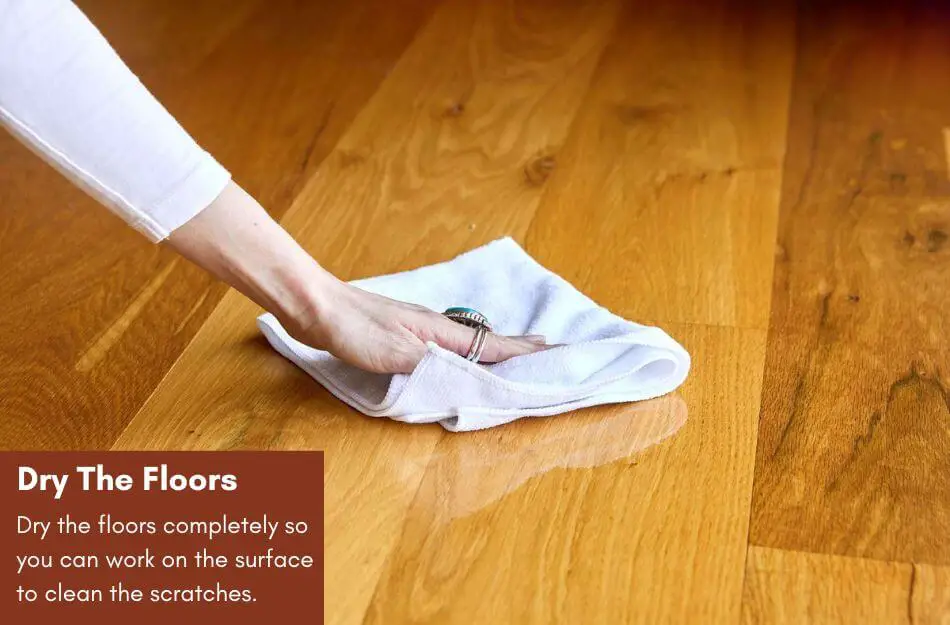
Once cleaned, the floors might not look as damaged as in dirty condition. Hence, it is crucial to clean and dry the floors.
Moisture can also damage the wooden surface and make it sag and swell. Dry-mopping the floors will prevent this possibility; your hardwood floors will be spotless again.
Method 1: Add A Finish Layer
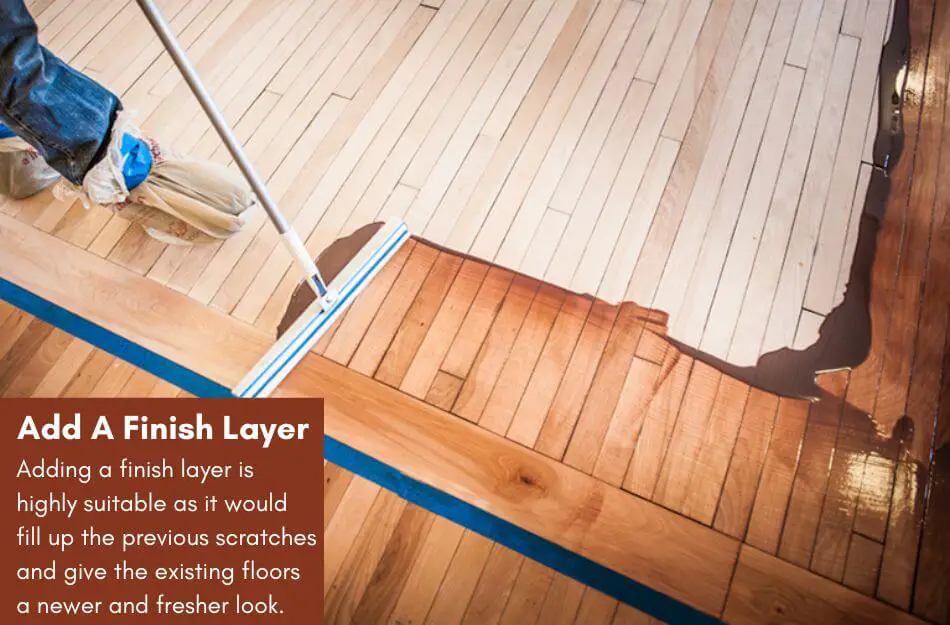
If your hardwood floors are finished and have been scratched a lot, you need to understand that the finish took the scratching and grit, not the wooden surface itself. Get to know the difference between prefinished and site finished hardwood floors if you don’t know yet.
Hence, adding a finish layer is highly suitable as it would fill up the previous scratches and give the existing floors a newer and fresher look.
Hardwood is not very resistant to scratches and can easily give in to factors such as grit. This makes it as prone to scratches as any other type of wood.
Hence, you must finish the wood floors scratch-resistant to protect them from such dangers. While you can choose from various finishes regardless of the type of wood you have installed in your flooring, it is best to stick to the two most popular.
The first is the oil finishes, and the second is the lacquer. Both are highly effective and practical, providing optimum protection to your engineered wood floors and preventing them from getting scratched or scuffed.
This makes them suitable for fixing the existing scratches on the surface and preventing such occurrences through optimum protection.
Let us explain if you are confused between these two types of finishes.
Both of these finishes are applied directly to the surface and do not require any mediation step, which makes them super-easy to apply.
Besides, the oil finishes are easy to apply and soak into the wood pores. This allows them to sit on the surface of the wood and keep the fibers healthy.
In addition, it locks in necessary moisture and forms a protective film on the top to protect the wooden floors.
Lastly, oil finishes are renowned for giving the wood a natural appearance and enhancing it even further, so if you don’t want a superior finish, an oil finish is the most subtle option.
On the other hand, Alternatively, lacquer is a thicker finish which offers more protection but also adds more sheen to the wood, looking slightly less natural.
While the lacquer may become scratched, it offers maximum protection for the wood beneath it. The finish can simply be reapplied to get rid of any scratches.
Method 2: Using Polish On The Hardwood Floors
Many homeowners tend to avoid this step which becomes one of their greatest mistakes. This method is not popular but seriously effective.
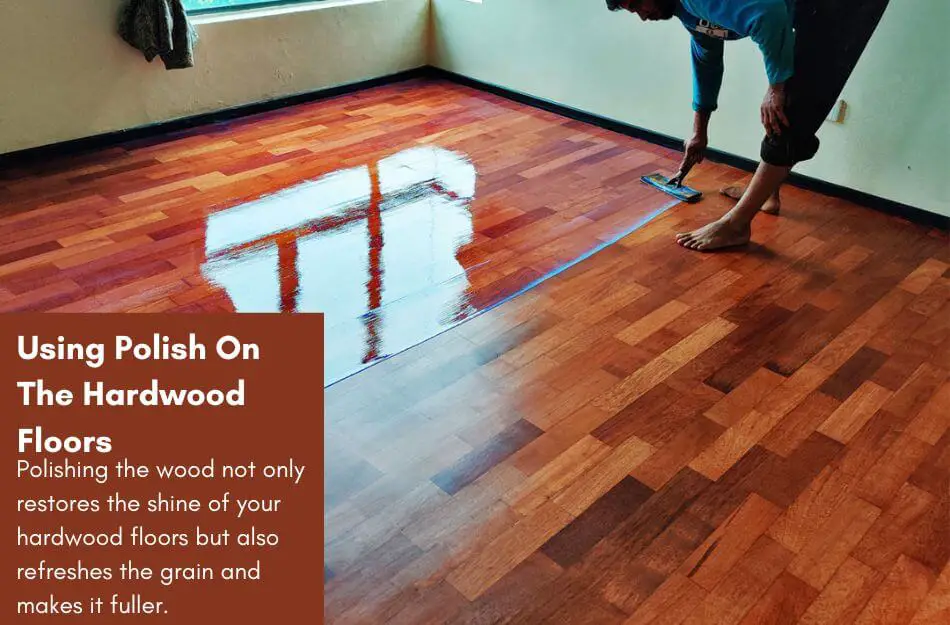
Polishing the wood not only restores the shine of your hardwood floors but also refreshes the grain and makes it fuller.
Timely polishing can take care of minor scratches and fill them with nothing but wood grain.
Although finishing is an important procedure to give your hardwood floors a primary coat of protection which will save them from scratches, you also have to take care of the floors and maintain them regularly to keep them healthy and maintain their pristine condition.
Just like carpets and rugs need to be deep cleaned once a year and all surfaces require a good cleaning session, the wood floors must be treated similarly.
Wood polishes are the ultimate way to fill up and hide scratches on the floor without any extensive steps that you might have to take.
They are among the best methods of keeping your wooden floors in the healthiest condition. Here are some noticeable benefits of using wood polishes to fix scratches on hardwood floors.
- They are an optimum way to maintain oil and lacquer-finished wooden floors, providing suitable protection against scratches.
- Dry wooden surfaces can get scratched easily; therefore, polishes lock in necessary moisture and restore the color from areas which have faded or darkened due to excessive traffic.
- They keep the surface moist and hydrated, reducing friction on the floors; this decreases the chances of scratching as the sliding effect can prevent deep scraping of the wood.
- Moreover, it is the optimum way of maintaining the scratch-resistant properties of your hardwood floors. It even renews the finish and makes it appear more rich and fuller.
A suitable time frame for polishing your wooden floors is every 18 months. However, if your floors receive extra traffic or a certain area receives excessive traffic, it is wise to polish or more frequently.
Method 3: Staining The Wooden Surface
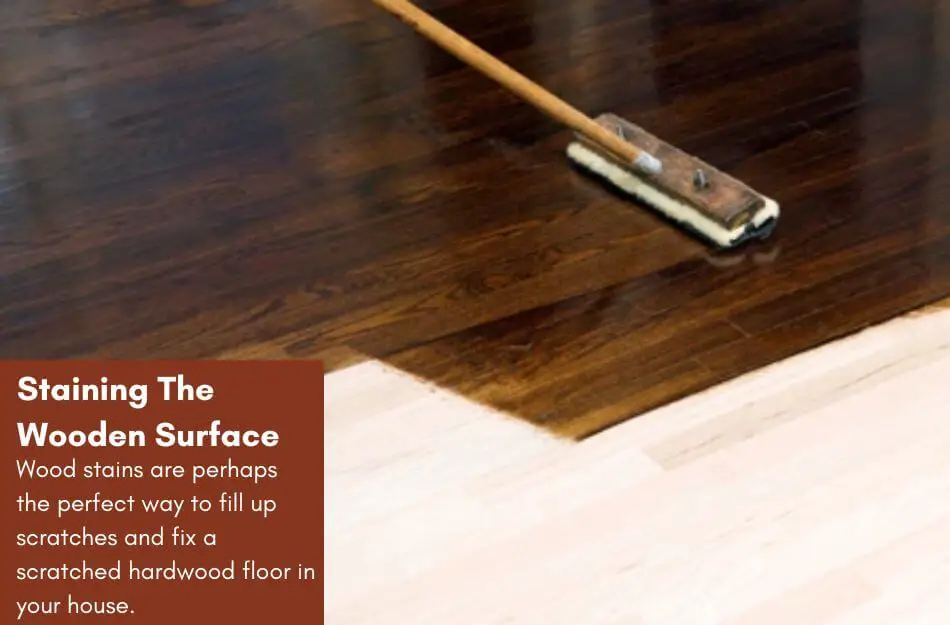
Wood stains are perhaps the perfect way to fill up scratches and fix a scratched hardwood floor in your house.
The primary goal of the wood stain is to form a protective layer in the wood cells, give it a desired color, and provide it with a protective layer on top which fills up small dents, scratches, and scuff marks.
While there are many types of stains in the market, it does not matter which one you choose, as all you need to do is check if it gives your wood the desired level of protection.
You can also get clear stains which are non-colored so that the original color of the wood is not affected in appearance.
Moreover, wood stains also keep the wood hydrated and prevent it from drying up, which decreases the chances of further scratching.
Depending upon the product, you might need a few coats of stain on your hardwood floors, but the scratches will be filled up completely after the process.
Another interesting feature of wood stains is that they can be used on finished or unfinished surfaces.
They can fill up the scratches on the wood’s surface and the varnish layer to give the floors a spotless and clean look.
This makes them a highly practical and useful method to fix scratched hardwood floors and make them look completely new again.
Method 4: Sand The Floors
If the scratches are deep and can’t be fixed with any of the following methods, it is preferred that you sand the hardwood floors to make the grain fine again and get rid of the scratches from the surface.
Be mindful that the sanding process will only be necessary if there are deep scratches on the surface of the wood and not the varnish.
Hence, if the surface of the wood is scratched and there is a finished layer on top, it would be necessary to remove it first.
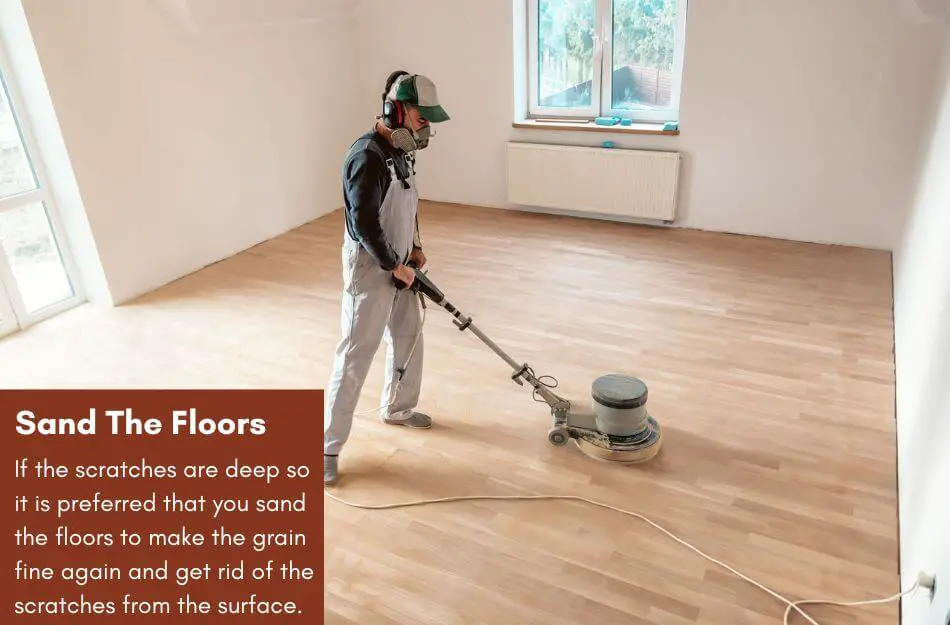
However, you can do both of these tasks together, as using a drum sander can allow you to target a vast area at once.
Hand-held sanders are also effective, but they would require too much time and effort.
Once the finish has been removed, clean the floors and move towards sanding the surface of the wood. It is preferred to start from 80 grit and slowly move up to 120, as you do not want to grind the floors too much.
As the process finishes, you can easily see that the wood grain is now fine, and the scratches have been removed.
This process works extremely well; however, if you have yet to gain prior experience, it is preferred that you consult a professional for this task.
Conclusion
Hardwood floor scratching is common and inevitable. Even if you do not have pets or children in the house, the irregular traffic will surely induce scratching over time.
As a result, the surface of the wood might look rough and worn out which can bring down the overall appeal of your house’s interior.
If you are also facing such problems on your hardwood floors and they have become extensively scratched and rough, you need to try the most suitable method from the list above.
While all of them are effective, some might not be useful according to your situation.
Hence, it is your duty to find out the best method to fix scratched hardwood floors and fix them right away!

As a co-creator of FlooringFlow.com, Emma Sophia comes on board to answer all your questions related to any flooring problems. Together with John Henry, she’s gained extensive experience in fixing many flooring problems in their own house as well as in friends and family’s. Now, she wants to share her knowledge that she gained during floor remodeling, restoring, and DIY projects.

![70 Bedroom Color Schemes: [year] Home Bedroom Refresh 70 Bedroom Color Schemes: [year] Home Bedroom Refresh](https://flooringflow.com/wp-content/uploads/2024/07/25-Cool-4th-of-July-Decorations-for-Outdoor-Patio-to-Celebrate-in-Style-16.jpg)
