
Sanding down hardwood floors is an integral part of the care and maintenance of the floors.
It is mandatory to sand the floors every few years for various purposes such as refinishing or resurfacing to ensure that the floors are in their prime health and to deal with any damage which might become serious in the future and cause destruction within the planks.
Normally people revert to the old and classic heavy-duty drum sanders as they are considered to be a fast and easy method. But many people have turned towards sanding by hand lately.
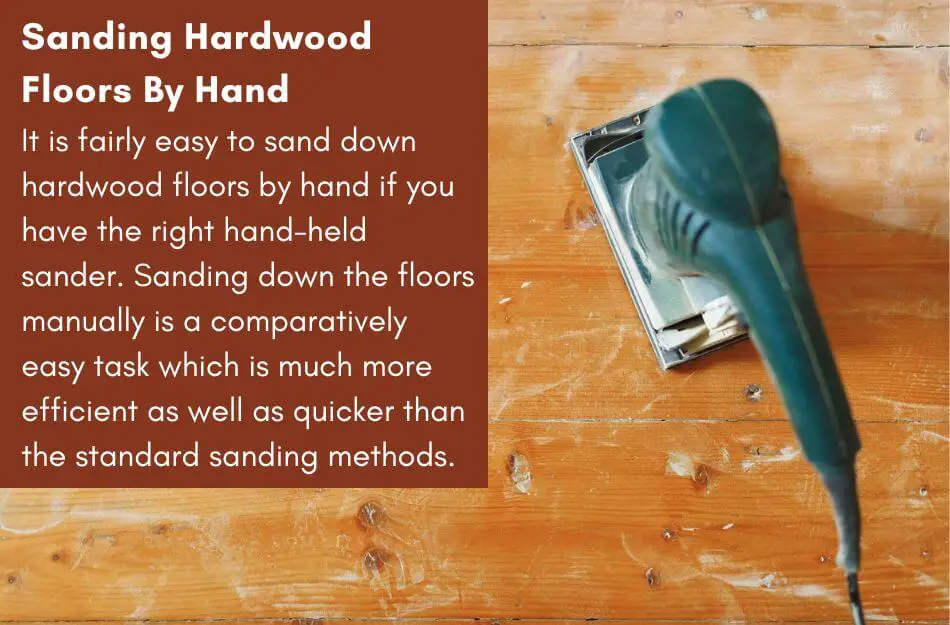
Sanding hardwood floors by hand is easy with the right hand-held sander. Manual sanding is efficient and quicker than standard methods. It doesn’t require much effort and is a straightforward process.
However, there are a lot of factors that you must keep in mind while you are sanding down hardwood floors.
From choosing the best hand-held sander according to the wood surface and your goal to preparing and sanding the floor in the right way, this article covers them all.
Therefore, make sure to read all the headings so you don’t miss out on any important information!
Table of Contents
How To Sand Hardwood Floors By Hand? | Detailed Guide
Usually, when people think about sanding their hardwood floors, they have big drum sanders and all the heavy-duty machines you might have seen with professional workers and crew members.
However, sanding your hardwood floors with smaller machinery and performing the task by hand is also possible and quite appreciable.
Using the classic heavy-duty drum sander, orbital sander, or edger for your home project is only sometimes necessary.
While many might think that sanding your floors by hand is too much of a task and requires a significant amount of effort, you might not be right. It is certainly more effective and precise, and if done correctly using the right tool, you will be able to sand your floors flawlessly in no time.
There are a number of steps involved in sanding the hardwood floors by hand:
- Choosing the best-suited sander.
- Acquiring the protective gear.
- Preparing the floors.
- Sanding the floors.
- Cleaning The Floors
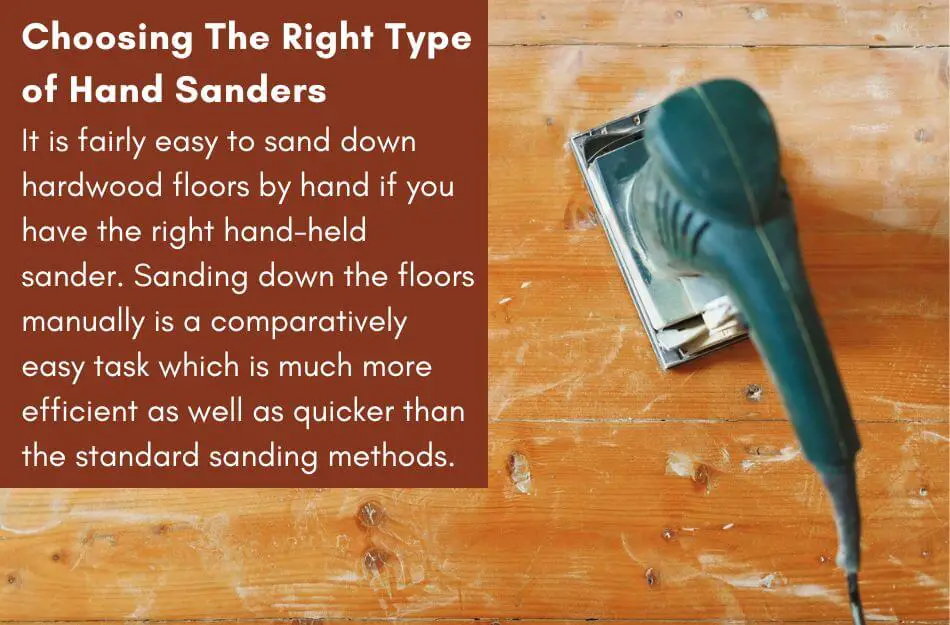
Choosing The Right Type of Hand Sanders
If you’re looking for the best hand sander for your hardwood floors and are worried about all the variety available on the market, rest assured, as we’ve got you covered.
Different types of floors might require a different type of sanding and, hence, a different type of sander.
It is crucial to understand the types of sanders available on the market so you can decide which one is the most appropriate for your hardwood floors and suits your goals the best.
There are mainly 5 types of sanders which are unanimously agreed as the best in the market. Each one is different from the others and follows a different sanding technique.
What you find the most suitable depends upon the type, age, and thickness of your hardwood floors and what type of look you are looking forward to achieving.
Hence, take a look at the list below and see which one suits you the best.
The Delta Sander
The delta sander is one of the most popular tools in the sanding and flooring industry and is even labeled as the best hand sander by many.
It is used by homeowners, professionals, and even flooring experts due to its exclusive ability to access corners, side skirtings, and all the other hard-to-reach areas on your hardwood floors.
The accessibility gives it a major edge over all other types of sanders in the market, as it can reach and access areas that normal sanders can’t even get close to.

As its main features make it quite obvious, it is mostly used for jobs requiring much detail and for floors not built symmetrically, and normal sanders won’t be able to access all areas of it.
It is a small and light machine best for dainty jobs, which makes it easier to move and control and allows it to be moved into cheeky spaces and sand down the areas quite effectively.
If your hardwood floors are also laid in an odd pattern with a lot of corners and hard-to-get spaces, and you want precision in those specific areas, a delta sander is the most suitable choice you will have.
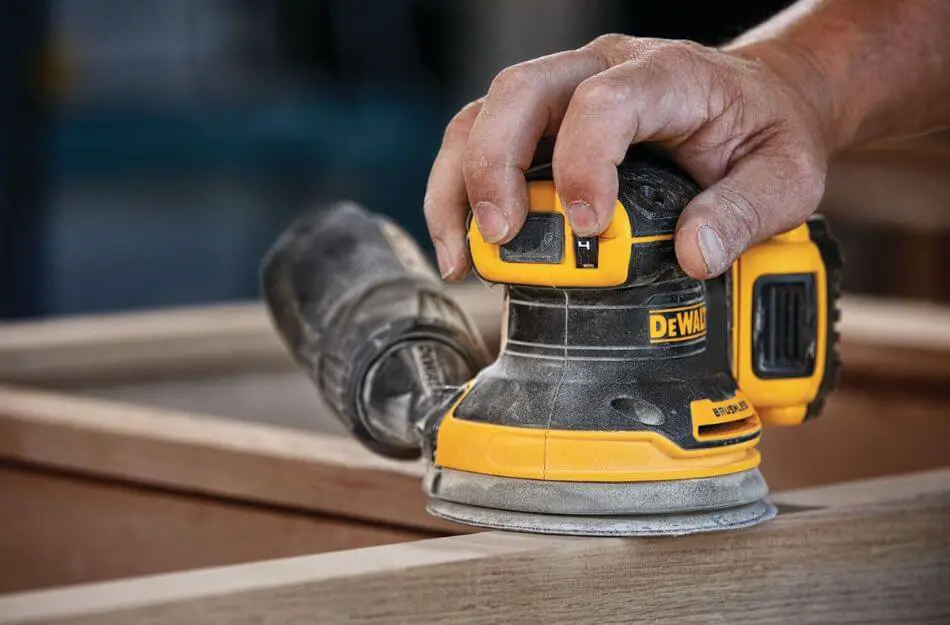
Hand-held Random Orbital Sander
If you like powerful machinery and require the same in sanders, a hand-held orbital sander is the best pick for you.
It is an aggressive tool with tremendous sanding power, making it highly suitable for surfaces that need a grinding session or have a varnish on top that must be removed. Do check out how to remove varnish without sanding.
It gives a far smoother surface than most other sanders and is known for its high-speed, powerful sanding.
Besides, in many cases, it even eliminates the requirement of cleaning hardwood floors beforehand as it can sand down all the dirt, grime, and even the crusted layers and still work on the surface of your hardwood floors perfectly well.
The orbital sander is very effective for vintage hardwood floors, which have received tremendous amounts of damage and have not been maintained for years.
The powerful sander gives the floors a good sanding session and restores their original appearance by removing the worn-out layer from the top and exposing the much newer and fresher look from underneath.
As the name suggests, the random orbital sander sands randomly as the pad oscillates and spins in a looser motion.
This is the biggest drawback of this sander because it is not effective against high resistance.
Hence, if there is extra resistance to pressure placed on the machine, it might give up as the spinning of the pad is not tight enough to counter the downward force with the spinning motion.
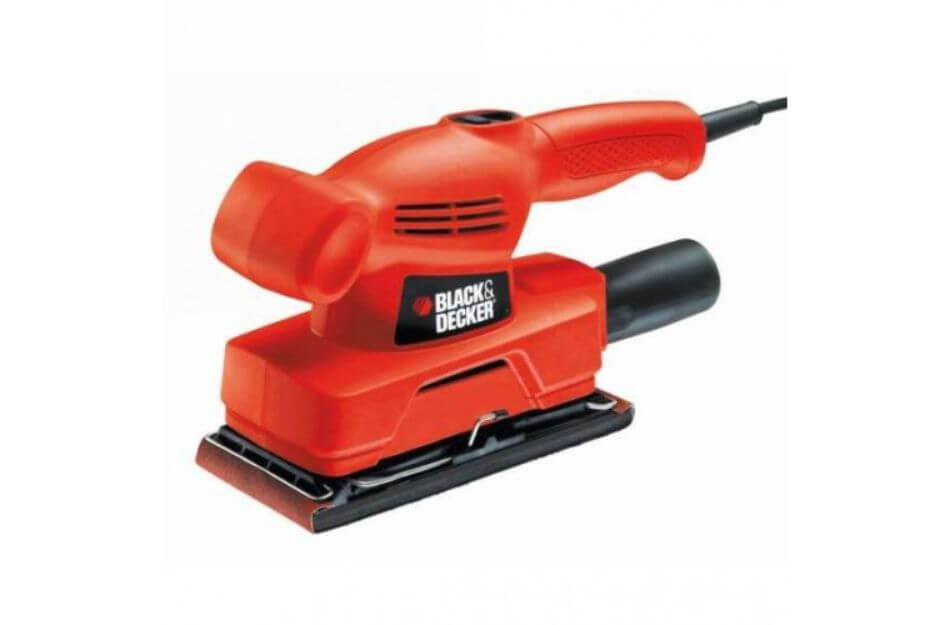
Palm Sander
If you are looking for a tool that is the most commonly used and suitable for almost all types of situations, a palm sander is the best choice.
It is one of the most extensively used tools and is trusted by professional sanders and homeowners with experience handling such tasks.
Palm sanders follow the oscillating motion just as the random orbital sanders, but the difference lies in the fact that the oscillation is not random.
As the pad is fixed straight in the palm sander, it makes the product very durable and sturdy and also gives a significant level of fight to any resistance applied.
Therefore, the palm sander is considered even more aggressive than the orbital sander and is considered much superior due to its added level of control and stability to the person operating it.
It also works great when it comes to removing finishes from old hardwood floors or clearing away all the dirt and dust that might have accumulated on the top of the floors.
It is best used with a coarse sandpaper grit for added efficiency and a quicker performance to get the job done faster with more accuracy.
In addition, palm sanders feature a square edge, making them suitable for sanding down the corners of the floors and accessing cheeky spaces, which might not have been possible with other standard sanders.
Hand-held Belt Sander
For people who are not concerned with the amount of time required to finish a job and focus more on the accuracy and efficiency of the product, the hand-held belt sander will be the proven best choice.
It is a machine with significant power and control which allows a level of sanding unmatched by any other item on the list, making it highly practical and suitable for surfaces with an immense amount of buildup or extensive damage.
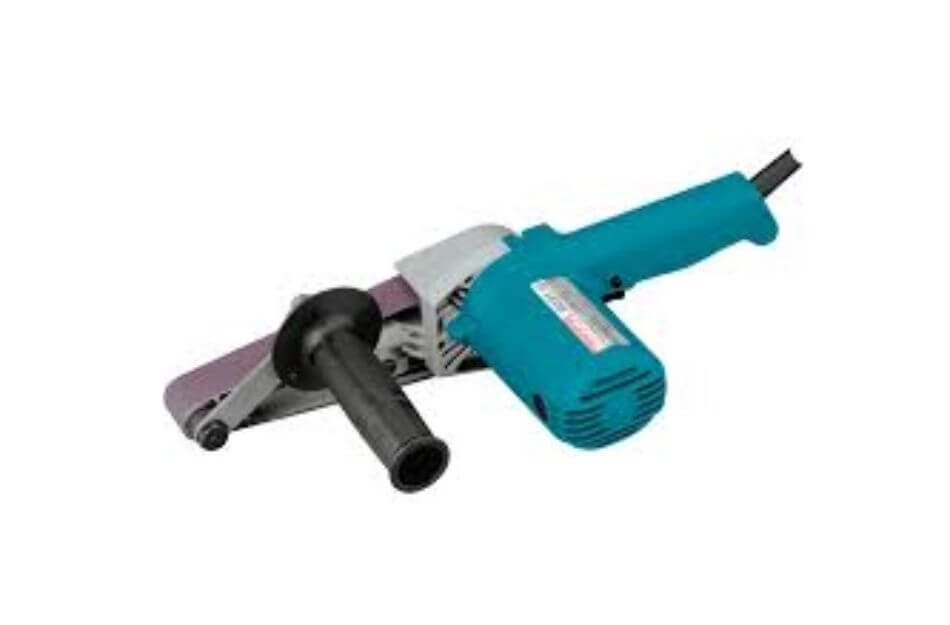
The only drawback of this sander is that it offers a different level of speed than other products and is hence a bit slower.
However, compromising a bit on the speed is okay when you are getting a standing power like this.
Old and finished hardwood floors often need help with sanding as the sanders stop working in the middle of the job due to the high resistance; hence another sander needs to be used, which might result in a difference in grain and texture of the wood.
But you won’t have to face the same problem with a belt sander as it offers consistency and efficiency when working your hardwood floors.
The belt sander does not focus on a quick finish but emphasizes more on getting the job done most accurately to yield the best possible results.
In addition, it still offers a reasonable speed and is not as slow as you might think of it.
Besides, if you can apply more pressure on the belt sander while sanding, you will see an increase in the speed and intensity of the sanding, which will, in turn, allow the task to be completed much faster than before.
The hand-held belt sander is preferred to be moved in all directions to provide a seamless and even finish.
Move the sander sideways, back and forth, and even in circular motions to achieve the best results.
Festool Rotex
For detailing jobs where you do not require as much speed and power but require more efficiency, the Festool Rotex proves to be the most appropriate solution.
It is best used in smaller areas and comes in handy when accessing cheeky spaces.
As it offers much more detail and a finer finish, it is best suited for stairs, thresholds, and all other similar purposes.
Moreover, the fun part has just started. The perfection achieved by this tool is unmatched, and the detail it gives to your hardwood surfaces is remarkable.
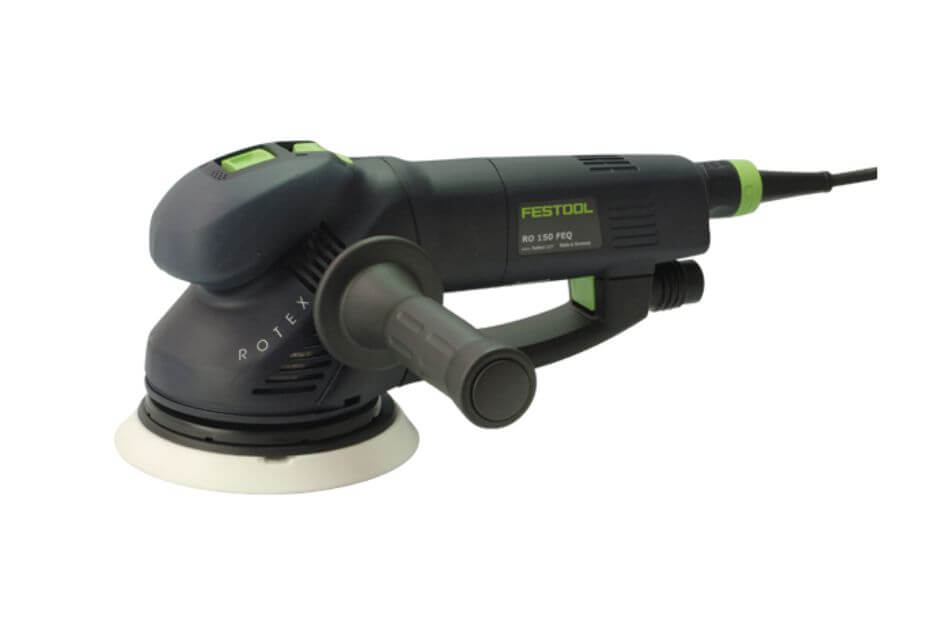
The Festool Rotex offers various settings which allow the pad oscillation to be adjusted according to the project’s requirements.
For instance, you can use the pad in a random orbital setting for a more generic approach or shift it to geared orbital settings where the pad oscillation and spinning are intensified according to the gears.
This allows for an extreme level of perfection and control and enables you to choose the right level of power and intensity depending on the job.
Gather All Protective Gear
Once you have selected the right type of tools for your hardwood floors, it is time to collect all the equipment you might need for your protection.
Sanding the floors by hand involves some risks which need to be countered beforehand. Hence, you must follow all the safety precautions for the best results.
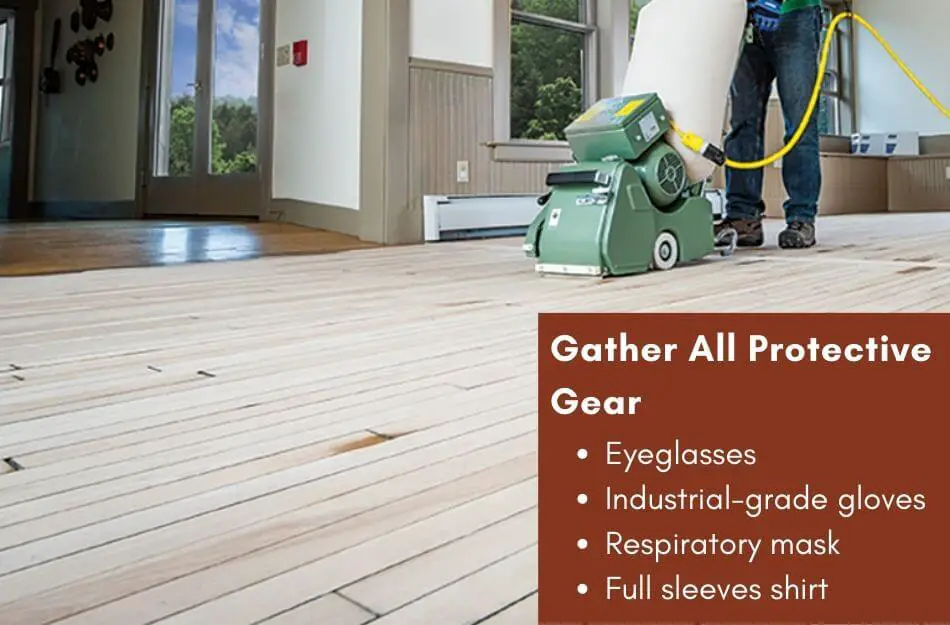
Below is a list of all the gear you would need:
- Eyeglasses
- Industrial-grade gloves
- Respiratory mask
- Full sleeves shirt
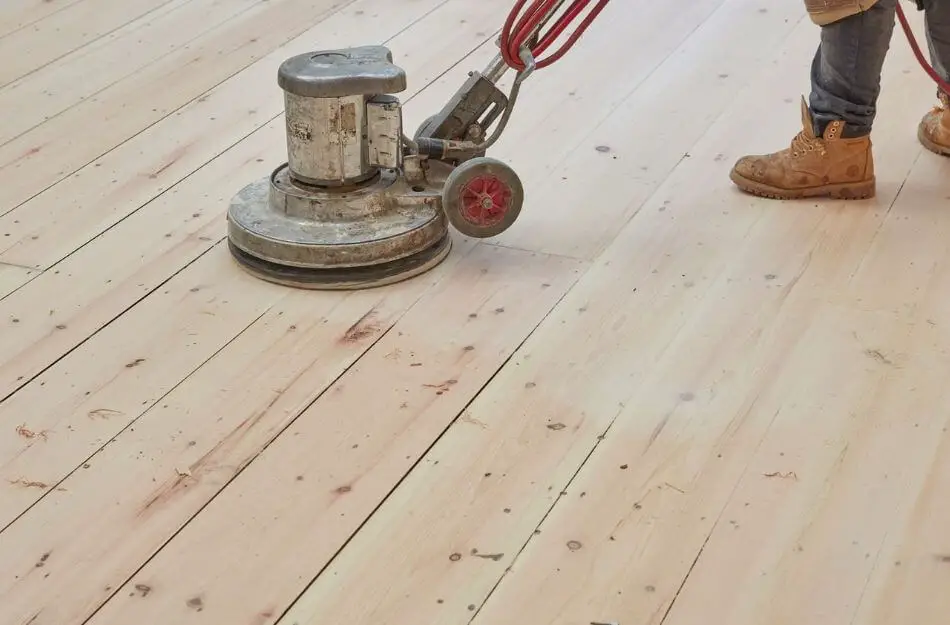
Prepare The Floors
Before you can start sanding, it is best to prepare the floors to make the job much easier for you.
Although many hand-held sanders are powerful enough to cut through dirt and grime, it is not recommended that you do so.
This may create unevenness in the wood grain as the layer might be thick in some places and thin in others.
Hence, it is best to clean the floors with a wood cleaner and scrub the surface so the raw wood or the varnish is exposed, and then you can proceed towards sanding.
Furthermore, as there will be a lot of sawdust in the air, make sure to ventilate the room properly by opening doors and windows.
This will promote the fresh air to flow in and the sawdust will not settle on the floors. Besides, it will also help you during the process and as breathing in an enclosed room during a sanding session can be quite difficult.
Another step you must take is to look for nails or screws that might have lifted or are close to coming off. It is best to drive them in with a hammer or a screwdriver to prevent any accidents during the sanding process.
Once you are done with all these procedures, take a final look to check if you’ve missed anything, and if not, you can move towards sanding down your hardwood floors.
Sand The Floors
Use your selected tool and start sanding the floors along the grain of your wood. Except for the belt sanders, you must only move in a unidirectional or circular motion according to the grain of the wood.
Remember that going against the grain can ruin the texture of your wooden floors and cause damage to the wooden planks.
It is noteworthy here that you must start moving the machine as soon as it comes into contact with the wooden surface.
Leaving the machine on the wood while it is turned on can cause excessive sanding of the board, which might result in the replacement of the boards becoming inevitable.
Although the exact sanding process will vary according to the tool that you have selected, the basics will remain the same, as mentioned above, for all types of sanders.
Moreover, if you want a smoother and flatter finish, you must choose tools which are a bit less aggressive.
Aggressive tools are best suited for surfaces which are too worn out, or the buildup layer is too thick that cleaning can’t cater to it. Don’t worry you can learn to clean cloudiness and buildup layers by cleaning as well if the layer is less or thin.
While sanding the hardwood floors, the minimum amount of coarseness required is 40 grit. Anything lower than that can not be effective against hardwood floors as it won’t be able to grind the surface properly.
In addition, if you are standing over the dirt and grime layer or the varnish, it is best to use a higher grit for the best results and an easier sanding session.
A higher grit will make the job faster and easier, but once you are working with the raw wooden surface, it is preferred to use a lower grit to avoid the possibility of scratches or dents on the floors.
For instance, if you start directly with 100 grit, you might find many scratches on your hardwood floors, and it would take a serious amount of staining to fill them up and level the surface.
Hence, it is best to test the tool on the side of the floors to determine which grit is most suited.
Contacting the manufacturer or consulting a professional is also a good idea if you don’t know where to start and what grit ranges will be optimal for your hardwood floors.
If you are sanding down finished hardwood floors, it is preferred to focus on removing varnish first.
Once the varnish is removed completely, you should only work on the wooden surface and choose your grit accordingly.
However, there can be possibilities where you might see remnants of varnish or need clarification on whether it is varnish or simply the hardwood floor.
An easy way to find out is to pour a few drops of water into the area. If the water gets absorbed and the wood darkens, there is no varnish on the surface.
But, if nothing happens and the droplets are sitting on the floor, there is still varnish on the area, and you must remove it first.
Once you are done with removing the varnish and have moved onto the raw wood, make sure not to press the tool too hard, as you don’t want excessive sanding or denting on the floors.
It is best to be as gentle as possible to hand the hardwood floors the best sanding session.
Moreover, make sure to move evenly on the surface with the same amount of pressure and time on each plank to ensure a unanimous grain on the entire floor.
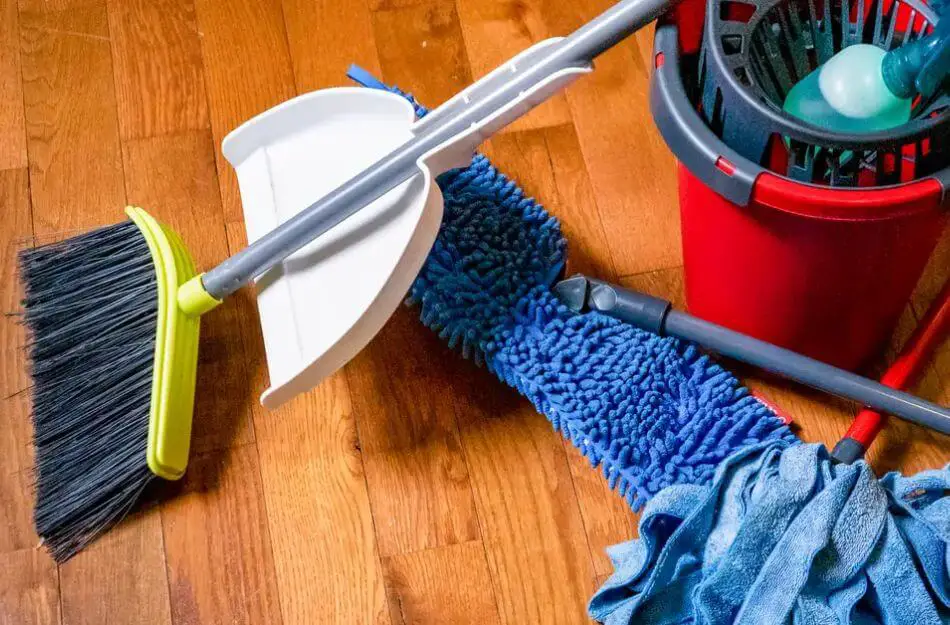
Clean The Floors
Once you are done with these steps, a regular dry-mopping session would be suitable to remove all the sawdust, the varnish, and the shavings from the floors.
If you want, you can also use a damp mop to collect all the remnants and make the floor spotless clean.
After this, you can proceed to whatever procedure you have left on the list as your hardwood floors are now perfectly sanded down and there is nothing more to do
Benefits of Sanding Hardwood Floors By Hand
Performing this task manually has many benefits. For instance, you have more control over a smaller piece of equipment than a bigger one, allowing you to maneuver accordingly.
Moreover, with the added control, there are fewer chances of mistakes and accidents as you can guide the machine to whichever point you want and stop immediately if something goes wrong.
Sanding the floors by hand is considered a symbol of true craftsmanship, and many homeowners prefer to take on this task themselves.
As the process requires a lot more attention to detail and does not work a massive area of the floor at once, it is considered to be very precise and accurate and is said to give the finest results.
Difference Between Sanding By Hand And Heavy-Duty Drum Sanders
There is no significant difference between sanding hardwood floors with heavy-duty drum sanders or by hand. Both methods achieve the same result.
The only considerable difference is that sanding the hardwood floors by hand uses smaller machinery as compared to the other more professional types.
The concept is the same, and so is the technique, and in most cases, the results are also the same without any difference.
You might need extra time with a smaller machine as it targets a smaller area on the floor, but it only allows for extra precision and accuracy.
Sanding professionals follow both techniques according to their preference, so you don’t have to worry about taking a non-professional approach and risking messing things up.
If you are new to the field and need more knowledge regarding sanding hardwood floors, rest assured, as you will get all the necessary information below.
Make, The process is very simple and requires the usage of sandpaper with different grits to get started.
The most suitable approach is starting with coarse grits and moving to finer ones to get the best results. However, you must make sure that you are not working against the grain of wood.
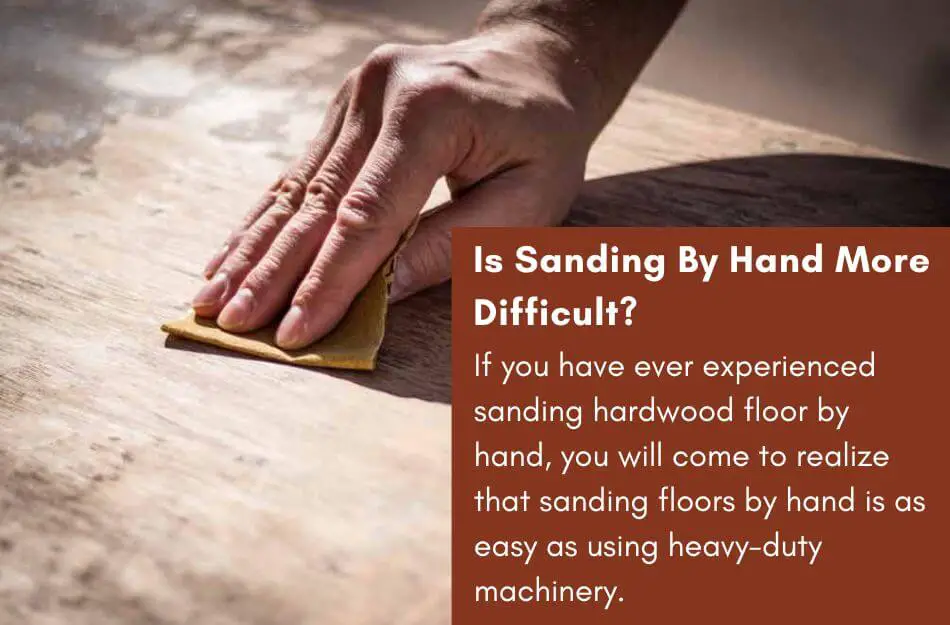
Is Sanding By Hand More Difficult?
Sanding hardwood floors by hand is not significantly more difficult as some may believe.
Homeowners state that sanding hardwood floors with smaller machinery requires a lot of strength and stamina and demands loads of elbow grease.
However, if you have ever experienced this project or know someone who has, you will come to realize that sanding floors by hand is as easy as using heavy-duty machinery.
While you might have to use much force to move the machinery to the desired spot and keep it in motion, this process is super-easy with smaller machines regardless of what normal opinions are; many people have found this process much faster and easier compared to its counterpart.
You don’t have to apply much force to the machinery or the floors, as simply guiding the sanders to the floors will do the job.
Furthermore, many small handers are far quicker and more efficient than other types of standard machines and hence provide better results in a short time.
Simply put, if you had to give the floors 4 sessions of sanding with 4 different types of grit, you might only have to use 4 types of grit when it comes to the smaller, more precise solutions.
In addition, using the smaller machines is far simpler as anyone with a steady hand and some basic knowledge can operate the machine without hesitation.
At the same time, using heavy-duty sanders would require too much training and expert-level knowledge to operate the machines efficiently without damaging the hardwood floors.
Final Thoughts
Sanding down hardwood floors manually is a preferred way to give your floors the long-forgotten grinding session which will renew their appearance as well as improve their overall health.
If you want to take up the task yourself, using a hand-held sander will yield you many benefits over the drum sanders.
For instance, renting the drum sander will cost you a lot more money as compared to a hand-held sander such as the Delta sander.
Not only does it go easy on your pocket but also is lighter and easier to transport, and carry.
Moreover, sanding the floors by hand allows meticulous precision and makes the process much faster.
Hence, if your hardwood floors are also in need of a sanding session, make sure to sand them by hand using the guise above.
Not only will they restore their original appearance but your job will also get a lot easier. So what are you waiting for? Choose the right sander for your hardwood floors and start sanding today!

As a co-creator of FlooringFlow.com, Emma Sophia comes on board to answer all your questions related to any flooring problems. Together with John Henry, she’s gained extensive experience in fixing many flooring problems in their own house as well as in friends and family’s. Now, she wants to share her knowledge that she gained during floor remodeling, restoring, and DIY projects.


![70 Bedroom Color Schemes: [year] Home Bedroom Refresh](https://flooringflow.com/wp-content/uploads/2024/07/25-Cool-4th-of-July-Decorations-for-Outdoor-Patio-to-Celebrate-in-Style-16.jpg "70 Bedroom Color Schemes: [year] Home Bedroom Refresh")


