
If you also got hardwood floors recently and are looking forward to sanding them down but they are unfinished and you don’t know how to sand them efficiently, you’ve come to the right place.
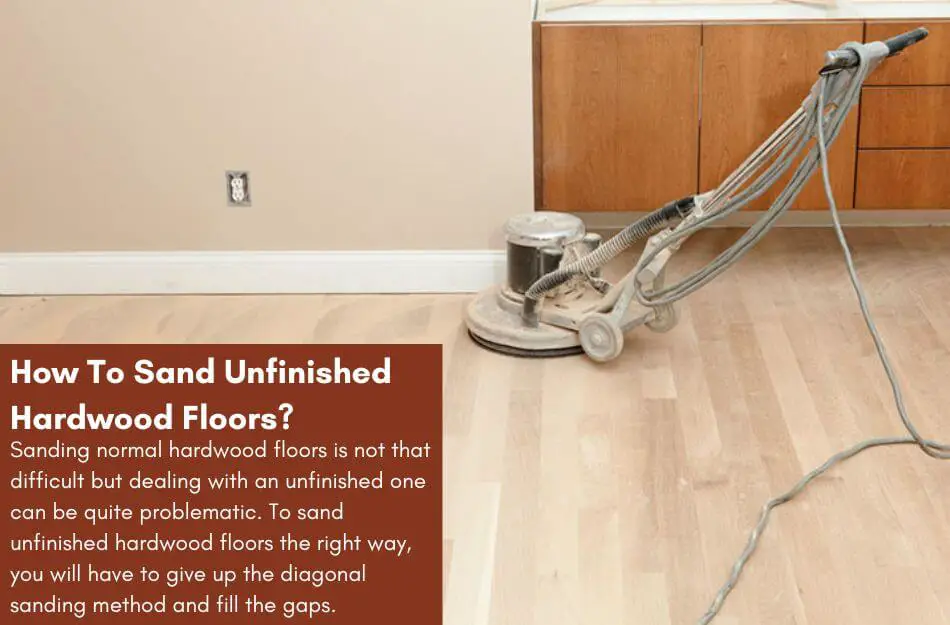
Sanding normal hardwood floors is not that difficult but dealing with an unfinished one can be quite problematic.
To sand unfinished hardwood floors the right way, you will have to give up the diagonal sanding method and fill the gaps. Both these measures will help give your floors the smooth and fine look that you want.
However, there is a lot more to this process so make sure to check it out.
Table of Contents
What Is Unfinished Flooring & Why Does It Need To Be Sanded?
Unfinished flooring refers to the type of hardwood floors which are in the most raw state possible.
They have not been treated with any chemicals, coated with stain, or covered with a varnish.
This leaves them in the rawest state possible for the buyer to work on them and customize them according to their own likeness.
Moreover, if you buy a batch of unfinished hardwood planks, you would realize that not all boards are of the same thickness or level of grain.
Each board would have slight variations. However, this slight difference will not be visible until the entire batch is laid down on your floors.
Only then you will be able to assess the difference in levels and textures.
In addition, most of the boards get discolored due to environmental conditions such as sunlight or moisture as they do not have artificial protection on them which can keep them safe from all such factors.
This might result in a change in color or even the texture of the wood. Besides, the moisture levels of each one of them can be different which would take some time before they can get acclimated and become even throughout the floors.
Another common factor among unfinished hardwood floors is that they can be chipped, bulged, or crowned from various places and this too would not be unanimous through the flooring.
Lastly, hardwood floors in an unfinished state can also have a film on top of them which needs to be removed before you can stain or finish the wood.
All of these problems can be solved by sanding the unfinished wood.
Sanding can give the floors an even appearance, restore their lost grain, texture, and color and can also ensure that any extra film on top is removed completely so that the wood can receive the stains and the sealant.
However, unfinished wood is quite vulnerable as you would’ve known already.
As a result, using a non-recommended sanding technique might result in the destruction of your hardwood floors.
Therefore, it is always necessary to follow the right method for the sanding of your unfinished hardwood floors.
How To Sand Unfinished Hardwood Floors The Right Way?
Below is the complete sanding process for an unfinished hardwood floor:
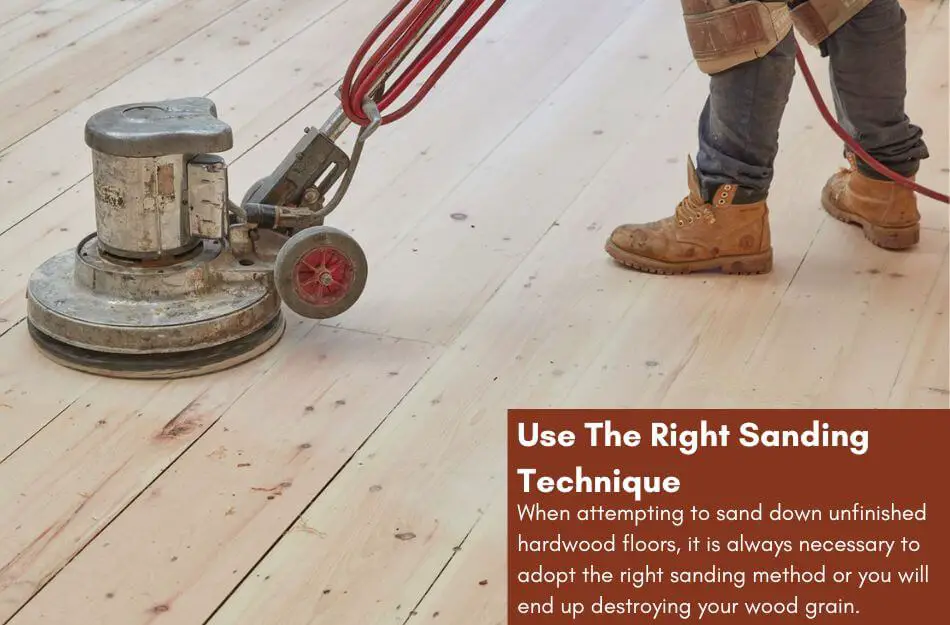
Use The Right Sanding Technique
When attempting to sand down unfinished hardwood floors, it is always necessary to adopt the right sanding method or you will end up destroying your wood grain.
Many homeowners or professionals run their sanders diagonally just as in the normal sanding session.
However, what they do not realize is that it can cause extreme scratching on the floors and will also ruin the grain of the wood as it is working against the grain.
Supporters of this approach argue that this method gives them more control and makes all the boards level very quickly and efficiently.
But in reality, it causes more damage than you might think. Therefore, you should always go for parallel sanding of the boards if they are unfinished.
Moreover, always make sure that you are sanding the floors in the direction of the wood and not against it to ensure smooth grain of the wood.
The ideal motion is to move from one wall to another; once you reach a dead end, turn around and change your lane, then lower the drum and repeat the process until the entire floor has been sanded.
Depending on the size of your sander and the coverage it provides on your floors; you can create lanes ranging from 5-10 cm each on your hardwood floors.
Besides, it is always necessary to empty the dust bag before moving to another lane as this would make sure that the dust collection is done on time and does not interfere with the sanding process.
However, you can sand the edges in the same way as normal floors even if the floors are unfinished.
The edges of hardwood floors should be sanded to the same level as the rest of the floors.
Even if you want to, you can sand them diagonally to achieve the right level and grain which matches the rest of the floors.
Diagonal sanding on unfinished edges might cause some scratching but it surely straightens out edges which are cupped or crowned.
Besides, using a finer grit sandpaper or abrasive pad at the end can ensure that most of the scratching is gone and the wood now appears much finer.
This process will be a bit lengthy and hard but you will surely achieve the desired results if you put in the required effort.
A useful tip here would be to choose a sandpaper close to 100 grit and sand diagonally as this can make the process much faster and more efficient.
In addition, the rest of the scratches can be fixed easily when you apply the stain on your hardwood floors.
Fill Any Gaps
Raw or unfinished wood is not protected by any sealant or finish on either side just as engineered or prefinished wood is.
As a result, it can go through various phases of acclimation where it can expand or contract by soaking or giving up more moisture spending upon the environmental conditions.
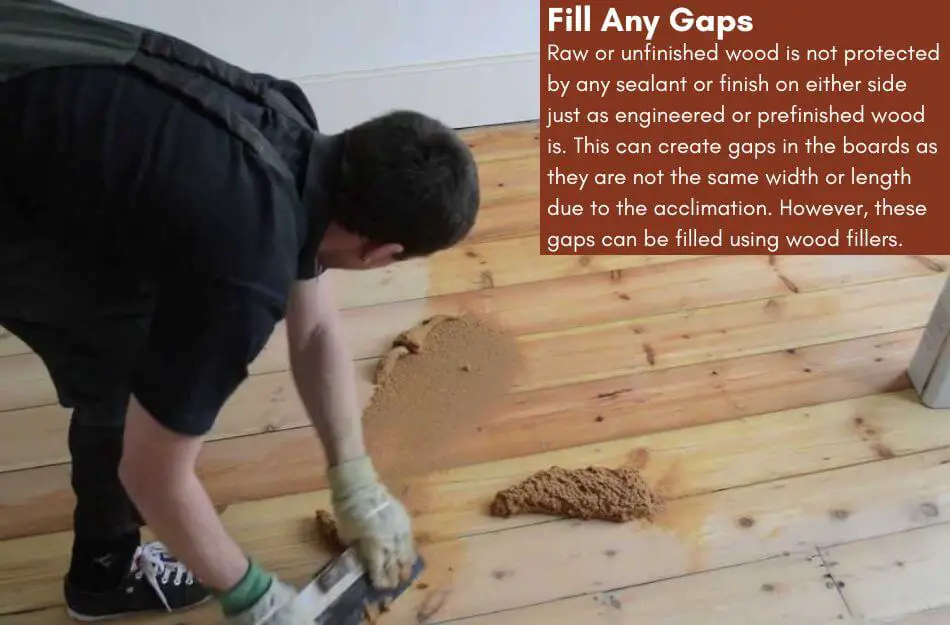
This can create gaps in the boards as they are not the same width or length due to the acclimation. However, these gaps can be filled using wood fillers.
You would have to leave the wood for a week or two so it can adjust as much as it can.
If the gaps still remain, you would need to use fillers to fill them up. Fillers are usually 2 main components which must be mixed together to make a solution that has to be poured into the cavity.
Choose your desired filler and make it into the right consistency. If you want, you can also add wood dust to the mixture so it bonds with the wood even better and gives a similar appearance.
Once the mixture is ready, pour it into the cavity and level it using a putty knife or spatula. Make sure to let it dry for at least an hour.
After this, you will have to sand the floors once again using a finer abrasive grit to make the filler level and the floors smooth.
If you intend on filling the gaps, do it after the first sanding session and then perform the smooth sanding otherwise you will over-sand the floors.
Conclusion
Hardwood floors need to be sanded whether they are finished or not. If you do not know the right way to sand the unfinished floors, the guide above will surely be of great help to you.
Use it to sand your unfinished hardwood floors today and give them the right appearance that they deserve.

As a co-creator of FlooringFlow.com, Emma Sophia comes on board to answer all your questions related to any flooring problems. Together with John Henry, she’s gained extensive experience in fixing many flooring problems in their own house as well as in friends and family’s. Now, she wants to share her knowledge that she gained during floor remodeling, restoring, and DIY projects.


