
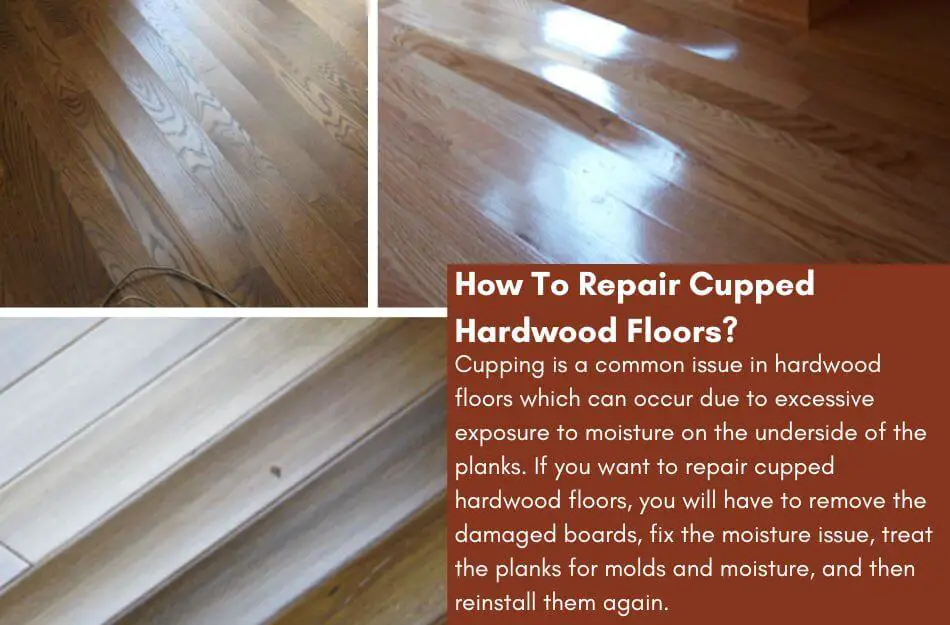
Cupping is a common issue in hardwood floors which can occur due to excessive exposure to moisture on the underside of the planks.
It can cause structural weaknesses as well as visual discrepancies for the hardwood floors which will reduce their overall appeal as well as value.
Many homeowners turn towards replacement options immediately, not knowing that the cupped hardwood floors can be repaired as well.
If you want to repair cupped hardwood floors, you will have to remove the damaged boards, fix the moisture issue, treat the planks for molds and moisture, and then reinstall them again. This process is long and complex.
Hence, if you want the best results, make sure to read thoroughly.
Table of Contents
What Is Floor Cupping?
Cupping is a term used to refer to the reaction of wood to moisture and the state that indicates it.
Moisture can seriously damage the wood and cause it to compress or swell. As hardwood and engineered woods have a reasonable wooden content, they are similarly affected by water and moisture, just like other types of wood.
They can absorb water and moisture during acclimation and also afterward due to their porous nature.
An imbalance in the water content can cause cupping, where the hardwood planks will lose shape from a certain area.
If there is an additional source of moisture for the hardwood floors, the area closest to the source will get affected and show signs of cupping.
The damaged area will sink into the surface of the wood so that its level is lower than that of the edges.
The wood will form a “U” shape in the area called cupping. This can happen when water seeps into one part of the wood and causes an imbalance distribution of water content through the wood, causing the area to make a concave shape.
Not only does this ruin the room’s appearance, but it can also cause serious structural problems in the floors and lead to many dangers.
Continuous cupping and expansion of the wooden boards can lead to gaps and separation of hardwood floors, making it almost impossible to walk on them due to the weak structure.
Besides, if the wood contracts, it can cause the boards to buckle, which will damage the cupped planks and also grit and exert heavy pressure on the boards in the vicinity.
Furthermore, this can also lead to cracks and splinters in the wood as it becomes shallow from the inside due to loss of strength and durability.
Therefore, it is crucial to identify the root cause of the problem and repair the cupped hardwood floors to keep them from getting severely damaged.
What Causes Cupped Hardwood Floors?
The main reason behind cupped hardwood floors is the subfloor moisture which can cause serious damage to the underside of the hardwood floors leading to cupping and more.
Wood reacts to moisture in mainly 2 ways; cupping and crowning.
While cupping features a U shape in which the affected area sinks in, crowning features an inverse U where the affected area swells up.
Logically, most of the damage received in cupping is on the underside of the boards, which increases weight due to water absorption and causes the wood to sink.
Whereas crowning is caused by surface damage which causes the wood to swell up after the excess water has been absorbed.
However, it is necessary to identify why cupping might have occurred on your hardwood floors. Let’s have a look at the possible reasons behind this issue.
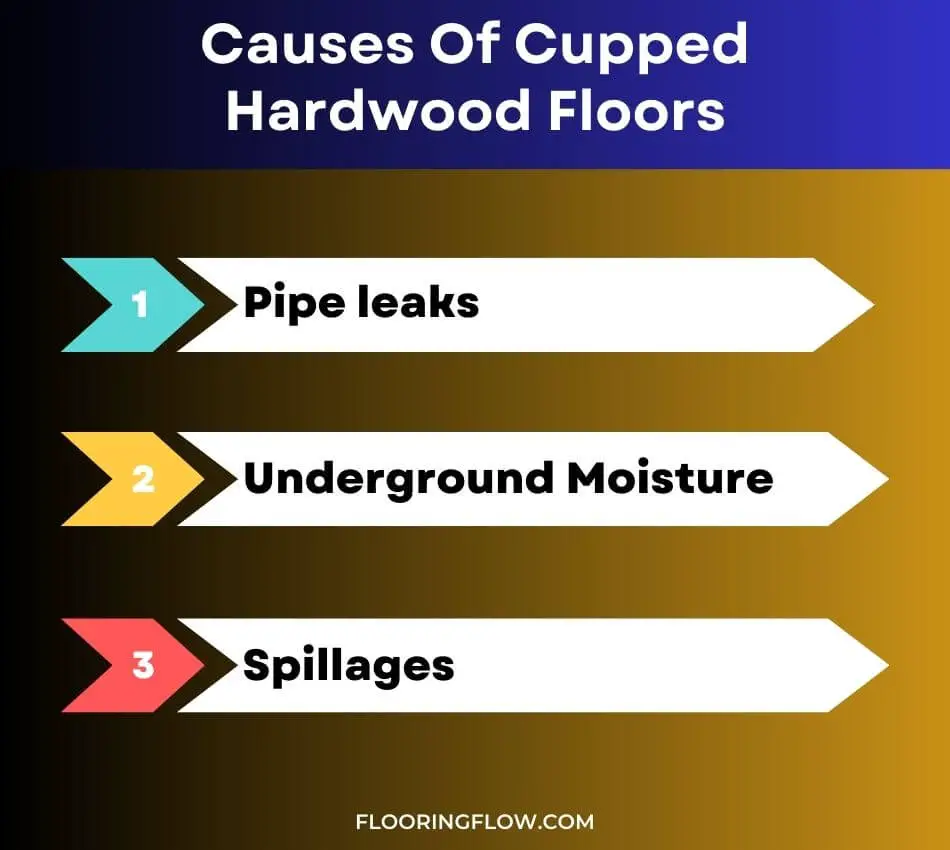
Pipe Leaks
Water or drainage pipes underneath the surface of your floors can cause serious damage to your hardwood floors.
They can give off moisture if they are not fixed properly, which can slowly seep into the subflooring of the flooring structure.
Besides, leakages at this spot can result in drastic outcomes which can ruin your floors; a common outcome is the cupping of hardwood floors in mild cases.
Underground Moisture
Another common reason for the cupping of hardwood floors is the underground moisture.
If your subflooring structure is placed in the ground or concrete without an underlayment, the moisture will soon damage the hardwood floors and cause them to cup from various places.
Spillages
The most common reason for cupping is the fluids spilled on the hardwood floors. Having children or pets in the house can be a major cause of this problem.
Moreover, if you have hardwood floors in the dining room or the kitchen, you will also face this problem extensively.
The water can seep through the wood and the gaps in planks and get absorbed in both the subfloor and the boards themselves.
How To Repair Cupped Hardwood Floors?
The right way to repair cupped hardwood floors is to find the root cause of the moisture, eliminate it and then treat the wooden boards with the right chemicals and treatments to restore them to their original shape.
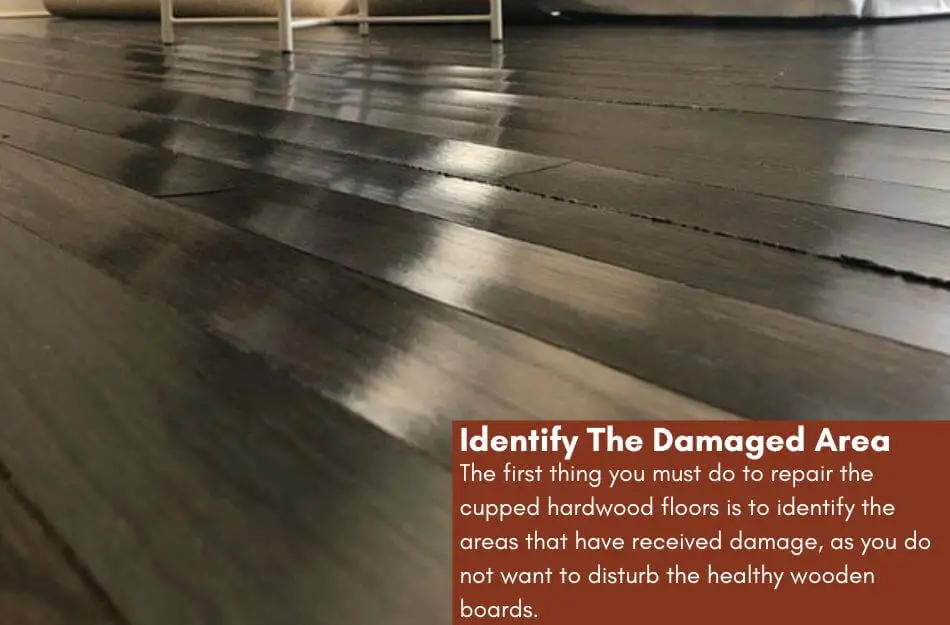
Identify The Damaged Area
The first thing you must do to repair the cupped hardwood floors is to identify the areas that have received damage, as you do not want to disturb the healthy wooden boards.
Look for signs such as cupping, crowning, molds, and discoloration to see which planks have sustained damage and need repairing.
Once you have identified them, mark them out and cover the neighboring boards with newspaper or tarp so they don’t get any unnecessary repairing processes.
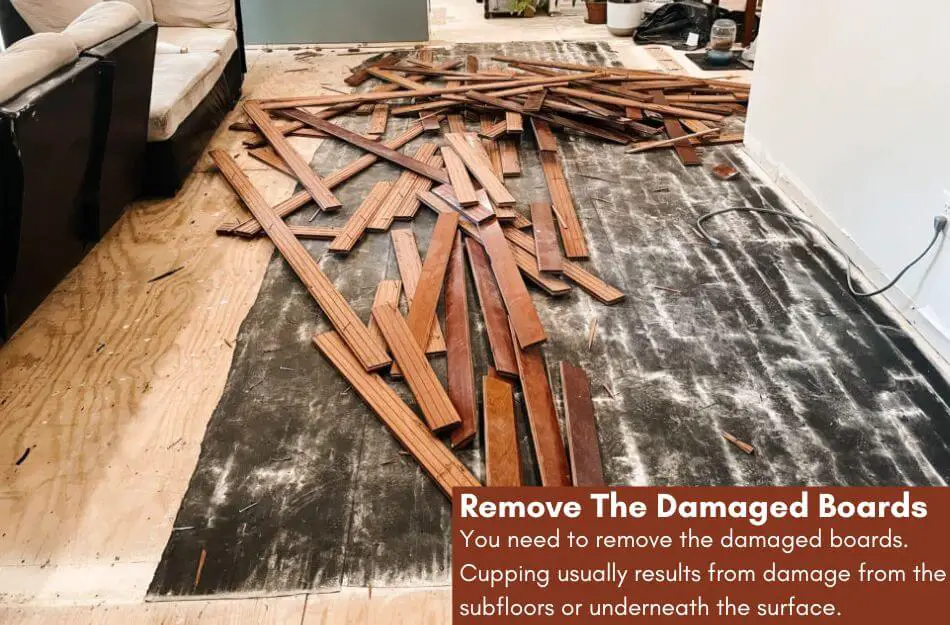
Remove The Damaged Boards
After identifying the area, you need to remove the damaged boards. As discussed earlier, cupping usually results from damage from the subfloors or underneath the surface.
Hence, it is necessary to remove the boards to fix the issue once and for all so it does not occur again and again.
Besides, the removed boards must also be treated and repaired before they can be installed again.
You can use a pry bar, chisel, and hammer to remove the damaged board from your flooring panel.
A suitable way is to place the chisel at a 45-degree angle against the boards. Then, you can put slight pressure on the hammer until the board emerges.
Ensure you don’t apply too much pressure or strike it, as it can damage the neighboring boards.
Another way to remove the boards is to break the cutting kerfs at the ends. This will allow the chisel to cross-cut directly through the center.
However, you must not force your way into the subfloors if the board is not coming out easily.
Sometimes, nails and adhesives are used during the installation, which can cause resistance and prevent you from removing the boards.
Also, look for screws, as they can be a big hurdle in this task.
If you still can’t come around and remove the boards, it is best to consult a professional for this job rather than trying to remove them yourself and end up breaking them.
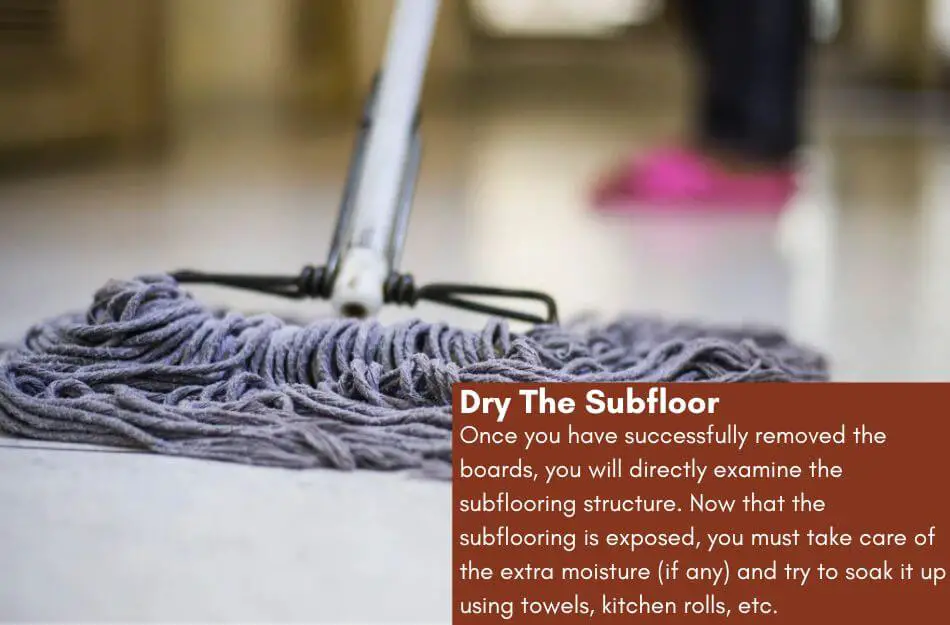
Dry The Subfloor
Once you have successfully removed the boards, you will directly examine the subflooring structure.
Now that the subflooring is exposed, you must take care of the extra moisture (if any) and try to soak it up using towels, kitchen rolls, etc.
As mentioned before, you must disinfect, vacuum, and dry the area for the best results.
Wait for the surface to dry completely before proceeding to the next step, or the humidity problem will not disappear.
However, you can tend to the state of the boards and clear any molds in the meanwhile, so you don’t have to sit idle for a long time.
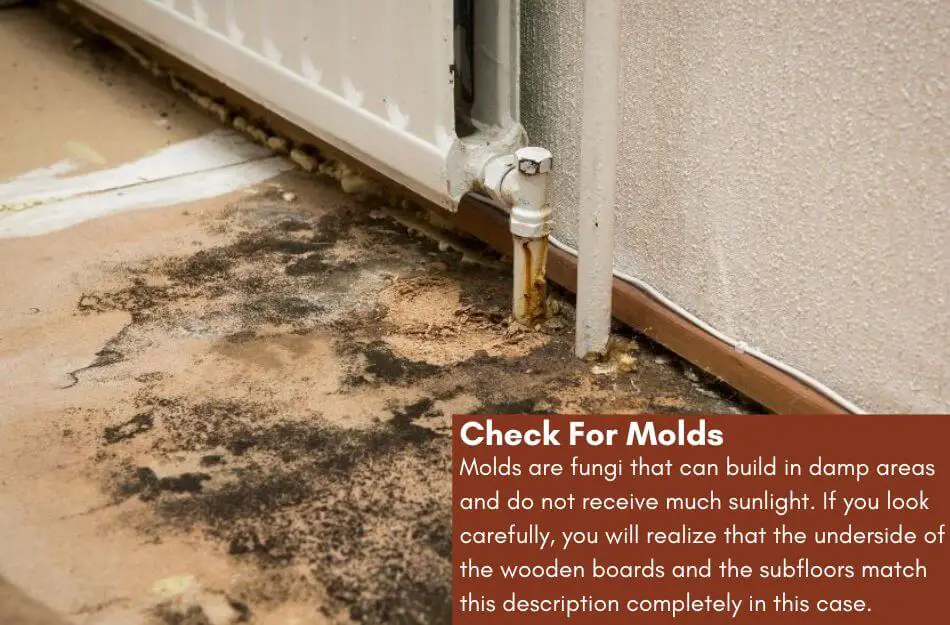
Check For Molds
Molds are fungi that can build in damp areas and do not receive much sunlight. If you look carefully, you will realize that the underside of the wooden boards and the subfloors match this description completely in this case.
Hence, it is appropriate to check them for molds’ greenish substances which discolor the wood in the specific area.
A suitable method of treating these molds would be to use TSP (trisodium phosphate) or TSP substitute mixed with water.
You can scrub the solution into the effective area until the discoloration and molds disappear, and the surface is neat and clean from underneath.
Repeat the same process for the subfloors if you see any molds in the area too.
Once all this is done, make sure to rinse the areas with water, but only use a damp cloth and wring it out periodically as enough damage has been sustained through water already.
Lastly, dry the floors and ensure water content remains on the surface.
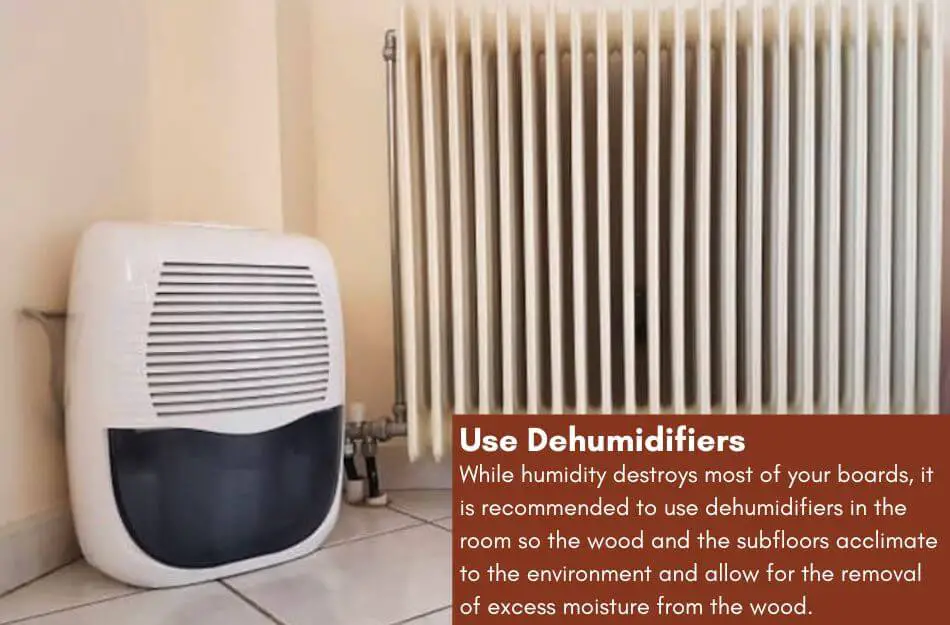
Use Dehumidifiers
While humidity destroys most of your boards, it is recommended to use dehumidifiers in the crawl space and room so the wood and the subfloors acclimate to the environment and allow for the removal of excess moisture from the wood.
This can help the cupped hardwood floors regain their original shape as they give up the stored water content. You can also use ventilation for further effect in this case.
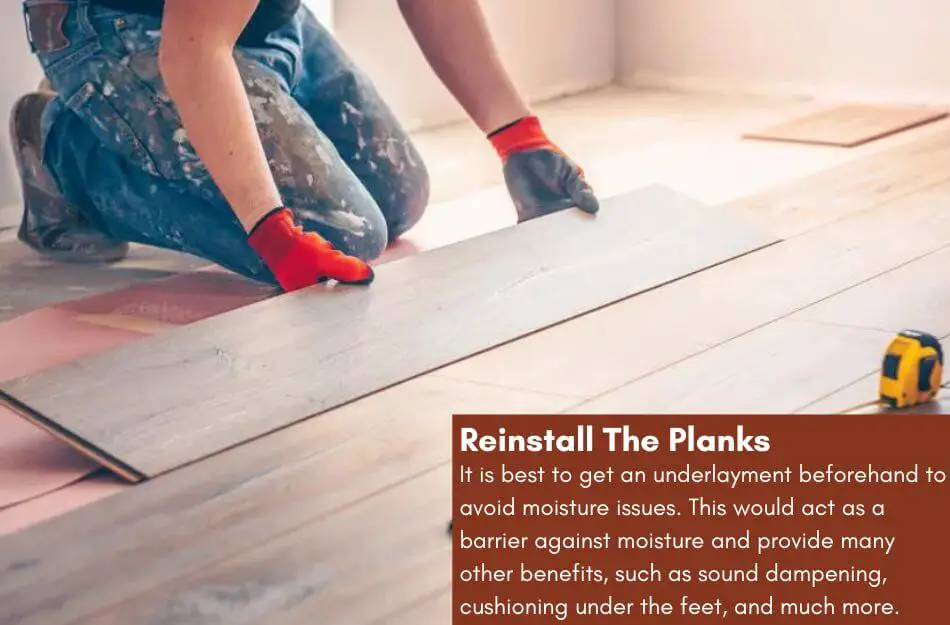
Reinstall The Planks
Once the entire process has been completed, reinstall the boards using the same method and ensure proper fitting.
It is best to get an underlayment beforehand to avoid such issues. This would act as a barrier against moisture and provide many other benefits, such as sound dampening, cushioning under the feet, and much more.
Firstly you must identify if the removed planks were damaged or not. If they were slightly damaged, you could reuse and refinish them to restore them to their original form.
However, replacing them with new ones is best if they are severely damaged, or they will affect the other boards too.
Replacing the old hardwood planks with the new ones can be tricky as you first need to identify if they were glued, nailed, or screwed.
This is because you must use the same method in most cases for replacement purposes.
If the planks were glued previously, you must scrape the surface to remove remnants of the previous adhesive to apply a new one.
Lastly, seal the floors from the top if necessary for optimum protection against the cupping of the hardwood floors.
However, if the wood seems rough from the damaged areas or hasn’t been restored completely, try sanding it down.
A light sanding session will refresh the grain and make it smooth again so you can seal it and get over the process once and for all.
Final Words
If your hardwood floors have also faced cupping recently and you do not know what to make of it, this guide should certainly be the best source of information for you.
All of the procedures have been compiled and listed by professionals so you need not worry about the authenticity.
Therefore, if you have cupped hardwood floors at home, make sure to use this technique to repair them right away!

As a co-creator of FlooringFlow.com, Emma Sophia comes on board to answer all your questions related to any flooring problems. Together with John Henry, she’s gained extensive experience in fixing many flooring problems in their own house as well as in friends and family’s. Now, she wants to share her knowledge that she gained during floor remodeling, restoring, and DIY projects.


