
The amount of dust and dirt received by hardwood floors on a daily basis is quite massive.
Often the dirt and debris from the shoes get stuck on the hardwood floors which can be countered through regular cleaning and maintenance.
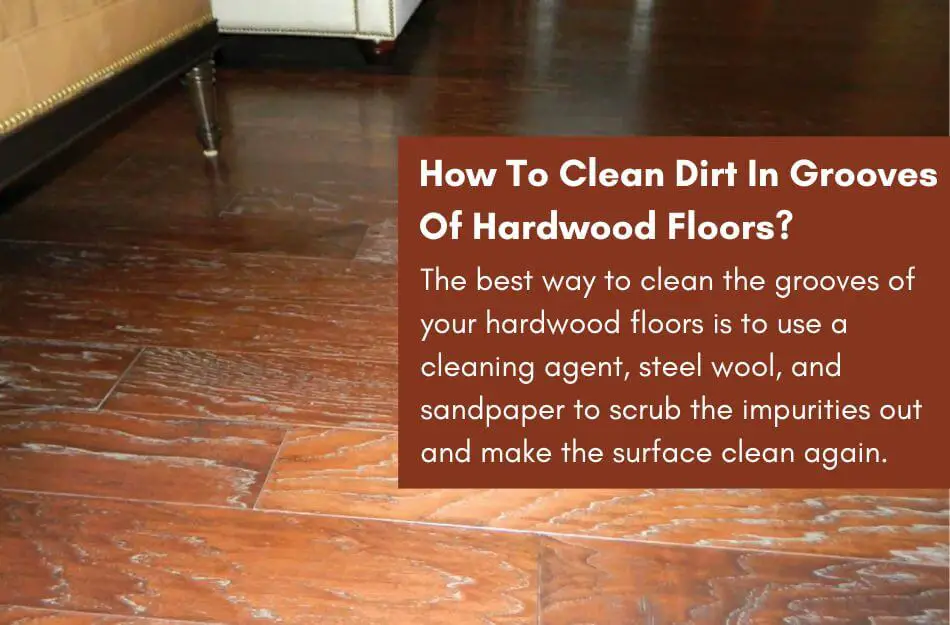
However, some of the dirt gets stuck in the grooves; which are the small spaces between the planks of your hardwood floors which become extremely difficult to clean.
The best way to clean the grooves of your hardwood floors is to use a cleaning agent, steel wool, and sandpaper to scrub the impurities out and make the surface clean again.
However, there are many steps involved in this process that you must see, which will be discussed later on.
Table of Contents
Things To Check Before You Can Start Cleaning Hardwood Floor Groves
Before starting the cleaning process, it would be best to look for certain factors in youth hardwood floors.
It is extremely crucial to identify these factors to ensure that you are not going to harm your hardwood floor in any way.
Moreover, it is also necessary to understand these points to optimize your cleaning methods and routine better accordingly to provide optimum cleaning for your hardwood floors.
If you are confused about maintaining your floor cleaning routine, do check out this guide on the hardwood floor cleaning routine.
Below is a list of points that you must look for before you can attempt cleaning the grooves of your hardwood floors:
Check If Your Floors Are Sealed
The first thing you must look for is whether your hardwood floors are sealed.
It is crucial to know this point as if the floors are not sealed, you can only proceed with damp cloths or mops and would have to limit the water exposure as much as possible, so the wood is not damaged.
However, if the floors are sealed, you might have to figure out what type of sealant is used so you won’t apply any product or solution which can harm the finish.

An easy way to identify the type of sealant on your hardwood floors is to pour some water on the surface of your floors; if the droplets sit on the surface, it means that your hardwood floors have been sealed with a water-based finish.
This would mean using water-based cleaners and polishes to clean your hardwood floors.
However, if the water droplet is absorbed for some time and disappears, it is alarming as the seal has probably worn off or wasn’t even applied in the first place.
Another factor to notice is if your hardwood floors are sealed with polyurethane or wax finishes, as it matters a lot when selecting the right cleaning products.
If you are not sure about it, you can read this article on how long does polyurethane last on hardwood floors that might help you in understanding this.
But if your floors are unsealed, you can’t use much water as excessive moisture can damage your hardwood floors as well as the subflooring structure.
In such scenarios, dry-mopping frequently is the best solution, and if need be, you can use a damp cloth which is thoroughly wrung out to wipe off any remnants of dirt and dust.
If the floor is unsealed, you want to limit the amount of water used for cleaning. This would also prevent any buildup from happening and will hence keep the grooves of your hardwood floors clean.
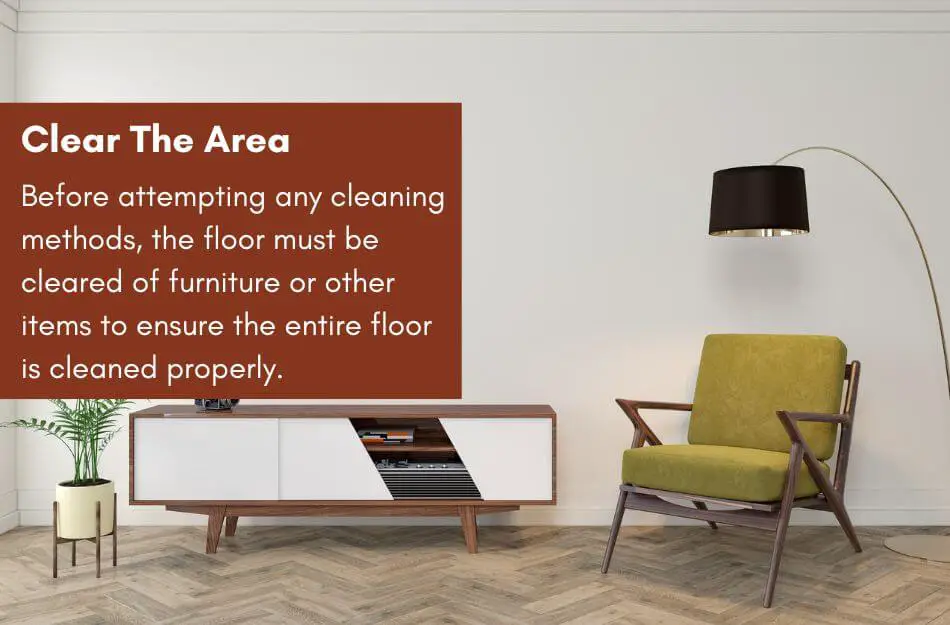
Clear The Area
Before attempting any cleaning methods, the floor must be cleared of furniture or other items to ensure the entire floor is cleaned properly.
Therefore, removing any furniture, rugs, carpets, or other small items from the floor is preferred before you can start cleaning the grooves.
Moreover, clearing the area means that the area has to be cleared of traffic. You can’t clean a hardwood floor at a time when it is expected to receive much traffic.
Hence, you can choose a suitable time when the hardwood floors are not expected to receive any traffic, or you can put a barrier at the room’s entrance to prevent anyone from entering and stepping on the floors until they have been cleaned.
Furthermore, planning out your cleaning method for best efficiency is best.
The most common and functional way is to start from the farthest end of the room and move towards the door to avoid setting foot on the recently cleaned surface.
In addition, make sure to dry up quickly, as leaving a solution or water on the floors might be less fruitful and can even harm your hardwood floors.
You can either take help from someone who can dry after you, or you can turn on fans to ensure that the floor is being dried as soon as you are cleaning it.
How To Clean Dirt In Grooves Of Hardwood Floors | Step-By-Step Guide
Regardless of how strong and robust they are, the hardwood floors will surely receive a lot of dust and debris on a daily basis which can fill in the gaps between the planks.
These are usually called hardwood floor grooves and can be a nuisance to clean and maintain.
All the shiny and luxurious appearance of your hardwood floors can be ruined if the floor has dirty grooves, and if you are looking forward to finishing, staining, or painting your floors, it is best to clean the grooves first, or you won’t be able to take out the dirt again anytime soon.
Due to the cheeky spaces that they are, cleaning them can be a task full of hassle and might involve much attention to detail.
Moreover, it would also require a lot of stamina and patience to deal with the stress that comes along with it.
The grooves of your hardwood floors can accumulate a lot of dirt and dust, and it is best to clean them on a timely basis before the dirt solidifies and becomes hard to clean.
If you are also wondering how to clean the grooves of your hardwood floors, look at the guide below, and all your queries will be answered.
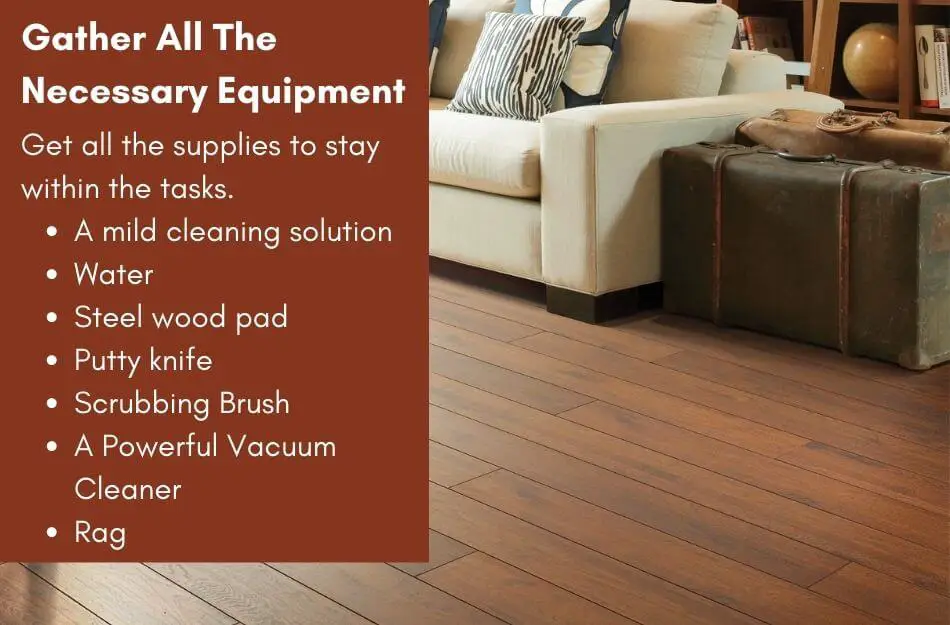
Gather All The Necessary Equipment
Before you can start cleaning your hardwood floors, it is best to get all the supplies to stay within the tasks.
Hence, we have compiled a list of all the items that you would need so you can prepare them beforehand.
- A mild cleaning solution
- Water
- Steel wood pad
- Putty knife
- Scrubbing Brush
- A Powerful Vacuum Cleaner
- Rag
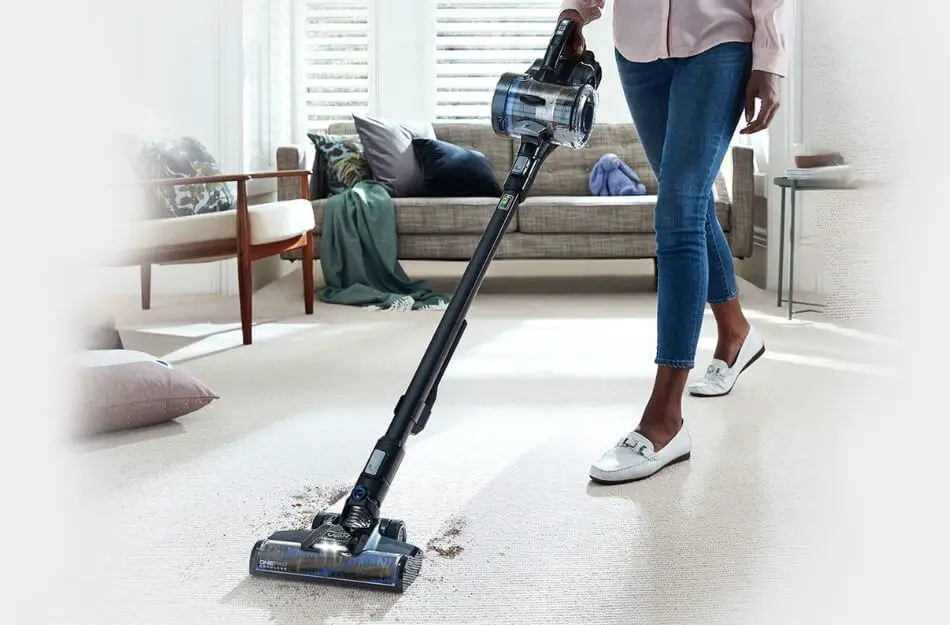
Before you can start cleaning the grooves, you must vacuum the floor first to remove any dry dust or remnants of food or other items.
This will simplify your cleaning process and simplify the task for you as any excess dry dist will be cleared by the vacuum, and you won’t have to clean it manually.
Using a powerful vacuum cleaner with enough vacuuming strength is preferred to suck away all the dust in the hardwood grooves.
If your vacuum is not as powerful, try removing the head and using the pipe to target the grooves manually.
As the cleaning process is too complex, it is best to get all the aid you can beforehand and make the process as simple as possible.
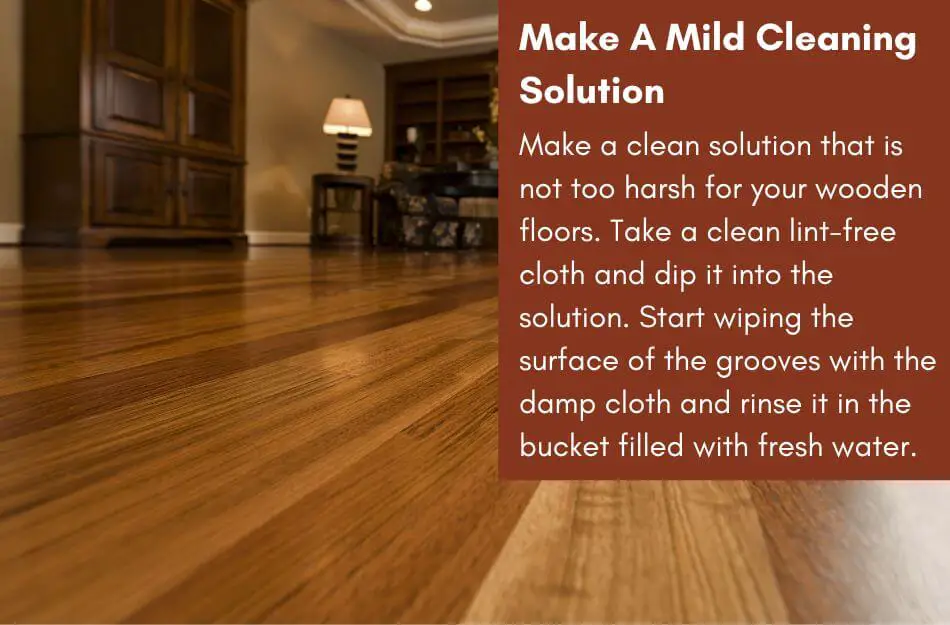
Make A Mild Cleaning Solution
The first step towards cleaning the grooves in your hardwood floors is to make a clean solution that is not too harsh for your wooden floors.
Usually, the grooves are cleaned before sealing, as it is not possible to access them from above the finish.
Hence, we must be meticulous when cleaning to avoid damaging the hardwood surface, which is already exposed and vulnerable.
Using a mild solution ensures that the wooden surface will be conditioned and not scraped with the harshness of the cleaning agent.
You can also use a natural homemade solution if you don’t want to apply commercial products to your floor.
Once you have made the solution, take a clean lint-free cloth and dip it into the cleaning solution which should be soapy by now.
As your motive is to clean the grooves, mopping the surface won’t be very fruitful as it targets a larger area and can’t focus on the grooves.
It is best to have another bucket filled with fresh water so you can clean the cloth periodically and won’t have to wipe the same cloth again and again once it gets dirty.
Now that you have most of the items ready for the preliminary phase, you can start wiping the surface of the grooves with the damp cloth and rinse it in the bucket filled with fresh water.
It is noteworthy that using excess cleaning solution can leave residue on the hardwood floor, which might result in clouding or hazy looks afterward.
I have written an article in which I have shared methods for removing cloudiness on hardwood floors that you should definitely go through.
Hence, make sure to dissolve the right amount of cleaning solution, which is enough to make soapy bubbles only; besides, if you are using a commercial product like bona hardwood floor cleaner or Pine-sol, make sure to follow the instructions properly to avoid any unwanted results.
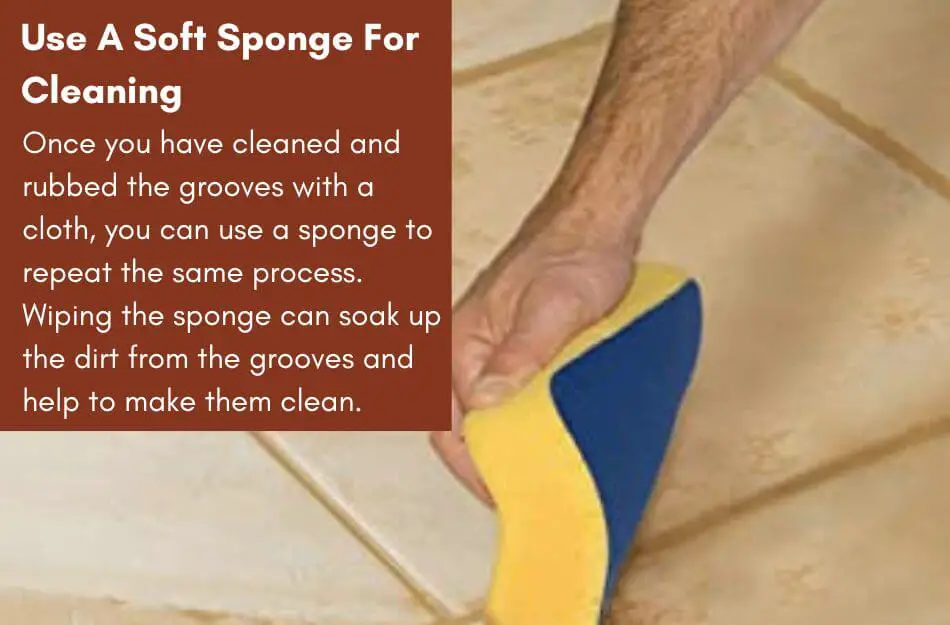
Use A Soft Sponge For Cleaning
Once you have cleaned and rubbed the grooves with a cloth, you can use a sponge to repeat the same process.
As the cloth has made the accumulated dirt soft and water, wiping the sponge can soak up the dirt from the grooves and help to make them clean.
After that, you must rinse the sponge in clean water to get rid of the mud and dirt absorbed. Repeat the process until all the grooves have been treated equally.
However, it is highly important to make sure that you are wiping the floors dry as fast as you are cleaning the grooves.
If there aren’t enough fans in the room, you can use another clean cloth or a towel to wipe the floors dry as long as you clean them.
Doing so will prevent the water from staying on the surface and seeping into the wooden pores causing them to swell and chip over time.
Hence, a suitable way is to divide the floor into various portions and work from one portion to another, so your drying speed is as fast as your cleaning speed.
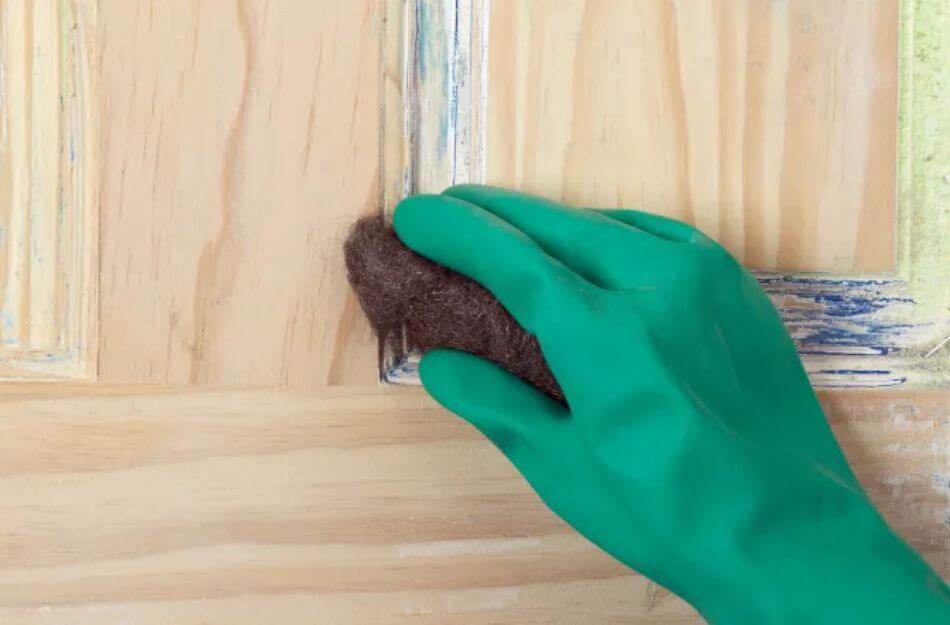
Use A Steel Wool
If the grooves are still dirty, you must use a ball of soft steel wool for the final step to make them clear and clean.
Gently rub the steel wool pad on the groves to remove any stuck debris or dirt, and follow with a sponge to clear it up.
However, you must be gentle with the steel wool as you don’t want to cause any scratches or scuff marks on your hardwood floors.
Now, if you want to go a step further and ensure that your grooves are shiny and spotless, you can use sandpaper and fold it in half.
Then, swipe the sandpaper repeatedly into the grooves to sand them down and make them clean again.
As the process is very difficult and time-consuming, you can use more grit sandpaper to get the results faster.
However, it is important to remain gentle to avoid scratching the surface at any point.
After completing this process, you can use the damp cloth or the sponge again to get rid of all the sawdust, dirt, and debris that might’ve come out of the grooves.
Vacuum Again
After completing the sanding and the steel wool phase, when you have cleaned the surface with a cloth, make sure to wipe it dry, as you don’t want water to stay on the surface.
For the next step, you must vacuum again to ensure there are no remnants in the groove or at any place outside, and if there are, the vacuum sucks them up.
However, make sure you do not push anything back into the surface of the grooves while vacuuming, so be careful with that.
Dry Mop The Floor
Now that you have completed all the cleaning stages, it is time for the final step and to bear the fruit of your hard work. You only have to dry-mop the floor once for the final results.
Removing all the debris and the dirt from the grooves might mean that some of it came out to the surface of the planks, which can’t be left to stay on the top.
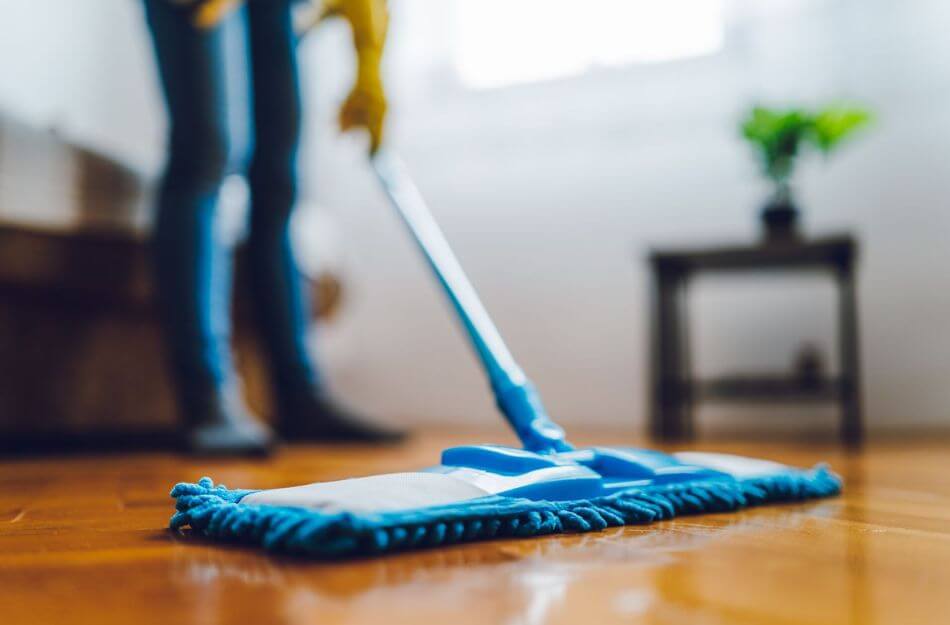
Hence, dry-mopping the floors will ensure that this possibility does not come true, your hardwood floors are spotless again, and the grooves are as clear as the planks.
Final Thoughts
Cleaning the grooves of your hardwood floors is extremely important to maintain the overall appearance and cleanliness of your floors.
Although it is a difficult process, it can be done with ease if all the steps are followed.
If your hardwood floors have also gotten dirty and the grooves are showing visible signs of dirt, it is high time that you start to clean the floors using the method mentioned earlier.

As a co-creator of FlooringFlow.com, Emma Sophia comes on board to answer all your questions related to any flooring problems. Together with John Henry, she’s gained extensive experience in fixing many flooring problems in their own house as well as in friends and family’s. Now, she wants to share her knowledge that she gained during floor remodeling, restoring, and DIY projects.


