
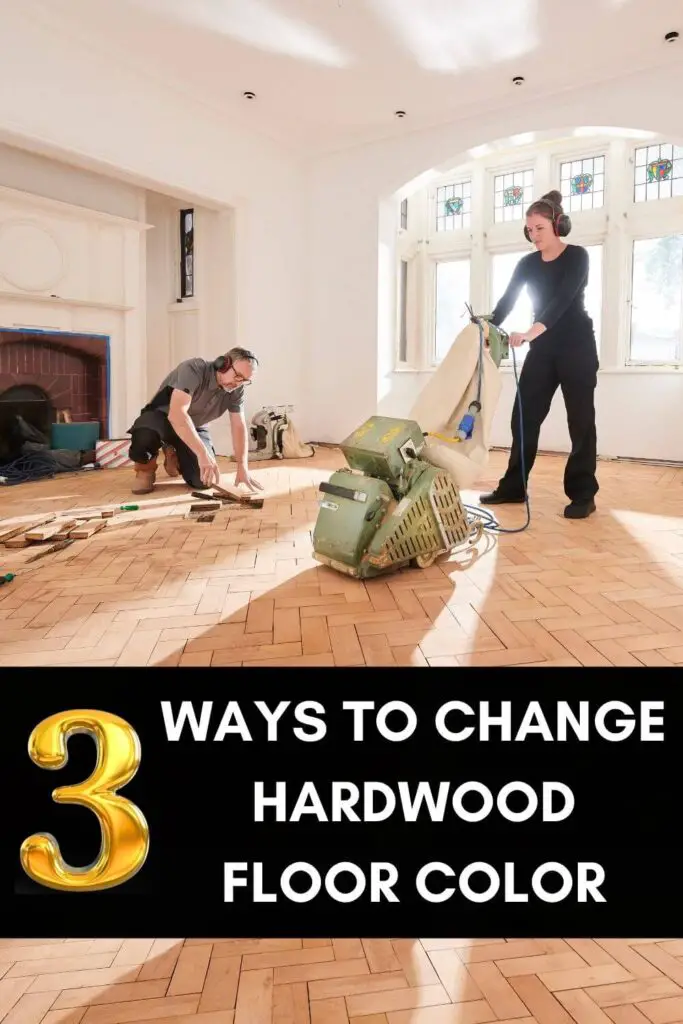
Changing the color of your hardwood floors is not just about giving them a fresh look; it’s about transforming the entire vibe of your space. But how to change hardwood floor color?
To change hardwood floor color, pick a Polyurethane water-based stain color you like and make sure it’s good for your type of floor. Use a simple foam pad to spread the stain along the wood’s lines.
Changing the color of my hardwood floors seemed like a big project at first. I wanted to make sure I did everything right so I wouldn’t have any problems later. I’m going to walk you through every step I followed, ensuring you make wise decisions that align with your vision and budget.
Table of Contents
Cleaning Up Before Changing Hardwood Floor Color
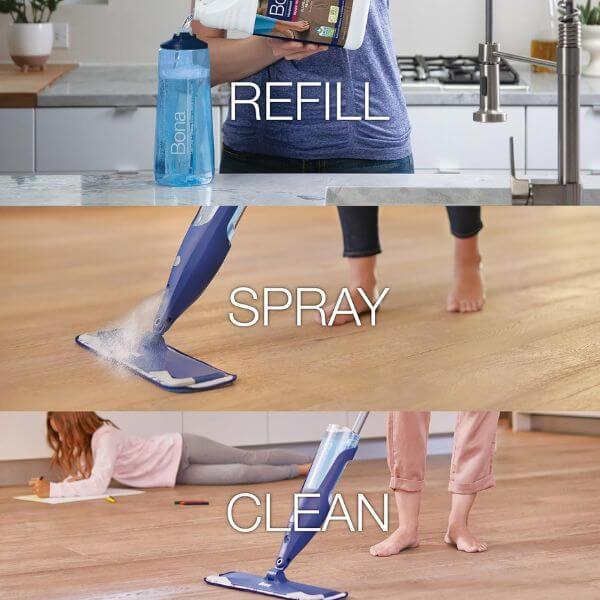
The first thing I did was clean the floors really well. I used a simple hardwood floor cleaner that I picked from Amazon.
I chose the Bona Hardwood Floor Cleaner because it had great reviews and was recommended by many. It worked like a charm, lifting away dirt and grime without damaging the wood. This step is super important because any dirt left on the floor can mess up the whole project.
How To Change Hardwood Floor Color Without Sanding?
Choosing the Right Stain
I decided to go with a no-sanding approach because, honestly, the thought of sanding the entire floor sounded like a lot of work and mess that I wanted to avoid.
Plus, I read that it’s a great option for floors that aren’t too damaged but just need a refresh. After some research, I picked a product specifically designed for this purpose – the Minwax PolyShades.
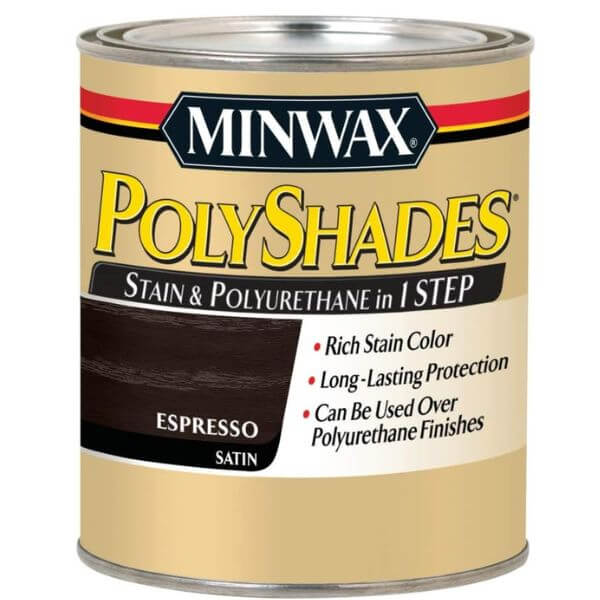
This is a combination stain and polyurethane that you can apply directly over the old finish, which was perfect for my needs. I chose it because of its ease of use and the good reviews from people who didn’t want to deal with sanding.
Applying the Stain
Applying the Minwax PolyShades was pretty straightforward. I made sure to do it on a day when I could open windows for ventilation since it can get a bit smelly.
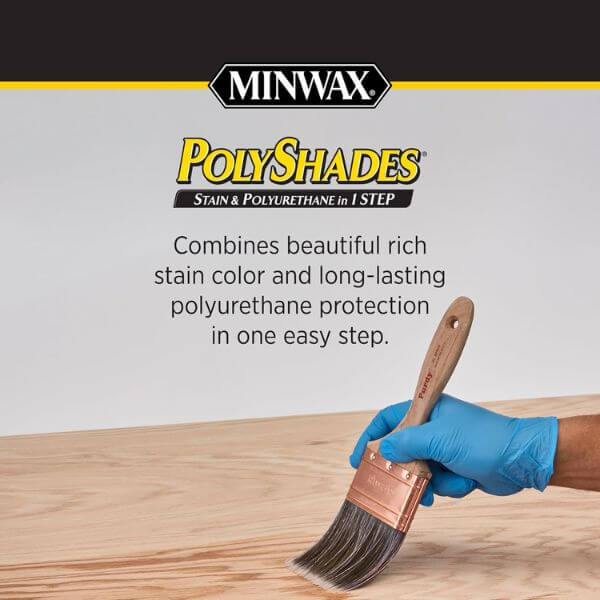
I used a high-quality, natural bristle brush to apply the stain, working in the direction of the wood grain. This part requires a bit of patience and a steady hand to get even coverage, but it’s worth the effort.
The change in color was immediate, and I could see my floors transforming right before my eyes.
Why Go No-Sanding?
The no-sanding method was a winner for me because:
- No need for heavy sanding equipment or spending hours on your hands and knees.
- The whole process was faster, meaning I could enjoy my new floors sooner.
- Sanding can create a lot of dust, which I was happy to avoid.
The Outcome Transformation
After letting the stain dry according to the product instructions, I was amazed at the difference. My floors looked refreshed, and the new color brought a whole new vibe to my rooms.
It felt like I had accomplished a major home improvement project with relatively little effort.
How To Change Hardwood Floor Color By Sanding And Refinishing?
After experiencing the ease of the no-sanding method, I got curious about more intensive projects and decided to tackle a room with floors that needed more work.
Here, sanding and refinishing were necessary to achieve the best results. This method is perfect for floors with deeper scratches, stains, or uneven colors. It’s more work, but the transformation is even more remarkable.
What You Need for Sanding?
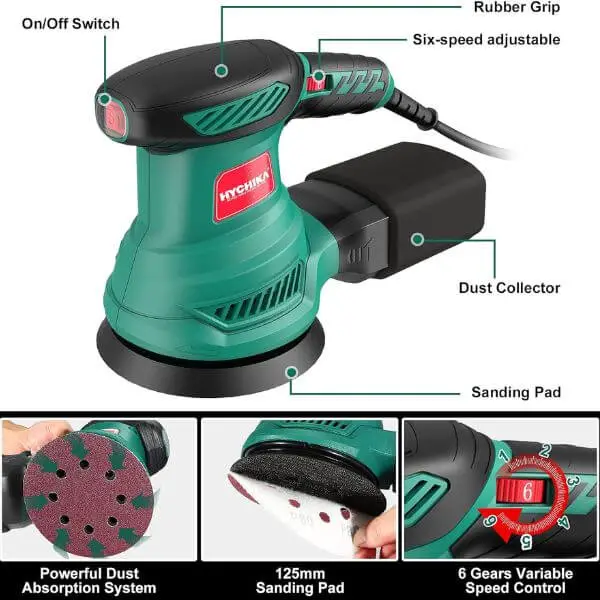
Sanding requires some specific tools and materials. I rented a drum sander and an edge sander from a local hardware store. You can buy them from Amazon: Random Orbital Sander and Eastwood drum sander.
It was my first time using these, so I chose models known for being user-friendly, especially for beginners. I also picked up sandpaper in various grits, starting with a coarser grit to remove the old finish and gradually moving to finer grits for a smooth surface.
The Sanding Process
Sanding was definitely more labor-intensive than the no-sanding method, but it was satisfying to see the old, worn-out surface being stripped away to reveal the raw wood beneath.
I started with the edges using the Random orbital sander and then moved to the main floor area with the drum sander.
It was important to keep the sander moving to avoid gouging the wood. After several passes, the floor was smooth and ready for the new stain.
Please go through this guide on sanding hardwood floors with drum sander or sanding using orbital sander.
Choosing the Stain
For this project, I wanted a rich, deep color that would highlight the natural beauty of the wood.
After browsing options, I settled on a Rustoleum stain from Varathane, known for its deep penetration and long-lasting finish. I applied the stain with a lint-free cloth, working in sections and wiping off excess stain to achieve an even color.
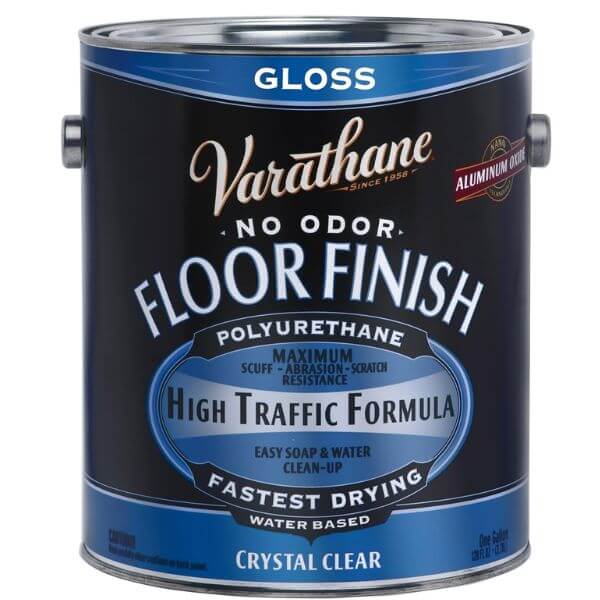
It is a water-based polyurethane stain finish so I didn’t need extra protection. I chose a water-based product because it dries quickly, has a low odor, and provides a durable finish. It required a few coats, lightly sanding between each for the best adhesion.
Get to know the sitting and drying time of polyurethane finish on hardwood floors.
Why Choose Sanding and Refinishing?
Sanding and refinishing hardwood floors allow for more control over the final look, from the color intensity to the finish type.
It’s ideal for older floors that have seen better days, restoring them to their former glory.
A properly sanded and refinished floor can last for decades with proper care.
Explore: When To Put Furniture On Refinished Hardwood Floors?
How To Change Hardwood Floor Color By Whitewashing?
Inspired by the dramatic changes I achieved with the no-sanding and sanding methods, I decided to experiment with a different aesthetic: whitewashing.
This technique offers a lighter, more contemporary feel that can brighten up any space, making it perfect for achieving a modern or rustic look. Here’s how I tackled this project, transforming my hardwood floors with a beautiful whitewashed finish.
Picking the Right Whitewash Stain
For whitewashing, I chose a water-based whitewash stain. I went with the Minwax Water Based White Wash Pickling Stain, which came highly recommended for its ease of use and ability to provide a soft, whitewashed finish while still allowing the wood grain to show through.
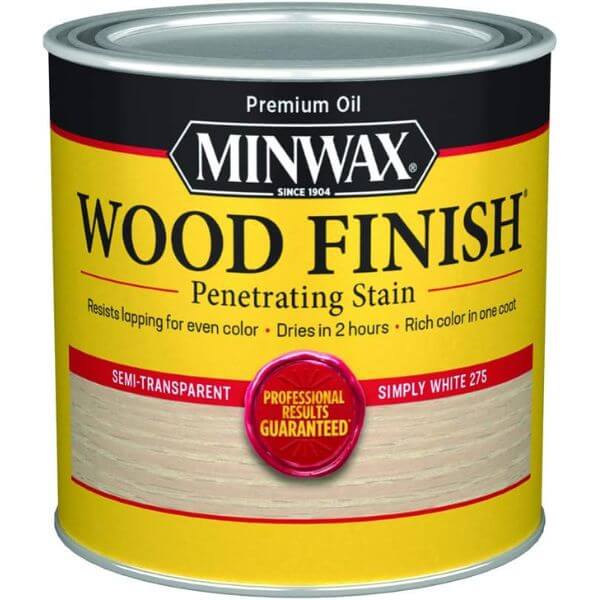
The reason for choosing a water-based stain was its quick drying time and low odor, making it ideal for indoor projects.
Preparation is Key
Just like with the other methods, preparation was crucial. Since whitewashing typically looks best on lighter wood, I first sanded down the floors to remove any old finish and to lighten the wood as much as possible. This step ensured that the whitewash stain would take evenly and produce the desired effect.
Applying the Whitewash
Applying the whitewash stain was a bit different from traditional staining. I used a wide brush to apply it liberally over the wood, working in sections.
Then, I wiped away the excess with a rag, leaving a light, milky finish that settled beautifully into the wood grain. It was important to work quickly and to maintain a wet edge to avoid lap marks.
Sealing for Durability
Once the whitewash had dried completely, I sealed the floors with the General Finishes water-based polyurethane to protect the finish.
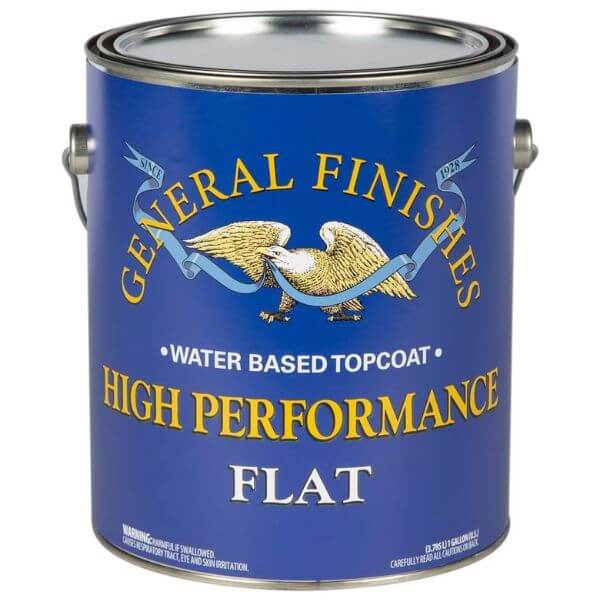
This step was essential to ensure that the whitewashed floors would stand up to daily wear and tear. I applied three thin coats, sanding lightly between each coat to ensure a smooth, durable finish.
Why Whitewashing?
- Whitewashing can dramatically lighten your floors, offering a fresh and modern look that’s very much in style.
- It works well with various decor styles, from coastal to Scandinavian and rustic.
- Unlike opaque paints, whitewashing preserves and highlights the natural beauty of the wood grain.
Care and Maintenance of Colored Hardwood Floors
After completing the transformation of my hardwood floors through various methods, I learned that the journey doesn’t end with the last coat of sealant.
Maintaining the beauty and durability of your newly colored floors is crucial to ensure they remain a highlight in your home for years to come.
Here are some tips and insights I gathered on how to care for and maintain your colored hardwood floors.
Regular Cleaning is Essential
The first and most straightforward step in maintaining your floors is regular cleaning. Dust and grit can act like sandpaper, wearing away the new finish over time.
I use a microfiber mop or cloth to dust the floors daily and a vacuum with a hardwood setting for a deeper clean weekly.
For mopping, I stick to a cleaner specifically designed for hardwood floors. I’ve found that the Bona Hardwood Floor Cleaner continues to be a reliable choice because it’s gentle yet effective, ensuring the floors stay clean without damaging the finish.
Find out the exact ratio of bona to be added with water before applying on hardwood floors.
Prevent Water Damage
Water is the enemy of hardwood floors (1). Even with a top-quality sealant, prolonged exposure to water can lead to damage.
I make it a point to clean up spills immediately and place mats by entrances and in high-moisture areas like the kitchen. It’s also a good idea to put trays under potted plants to catch any excess water.
Though, if your floors are water-damaged, here’s the full guide on repairing water-damaged hardwood floors.
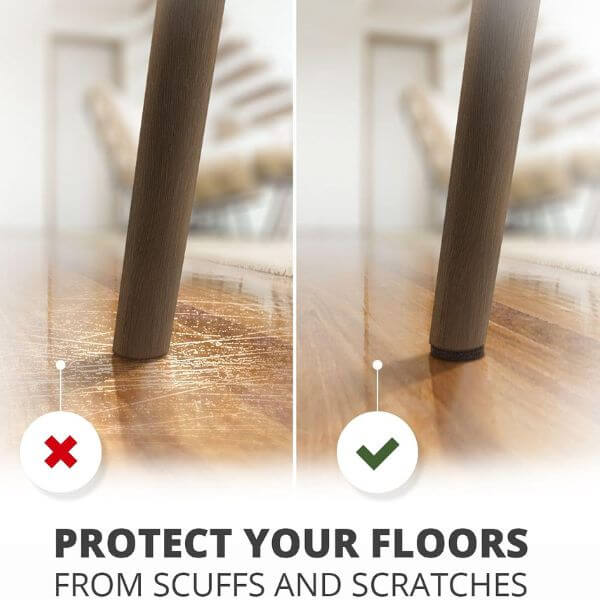
Use Furniture Pads
To prevent scratches and gouges, I placed X-Protector felt pads under the legs of furniture. It’s a simple and inexpensive solution that can save you from unsightly marks on your beautiful floors.
When moving furniture, I always lift rather than drag to avoid any potential damage.
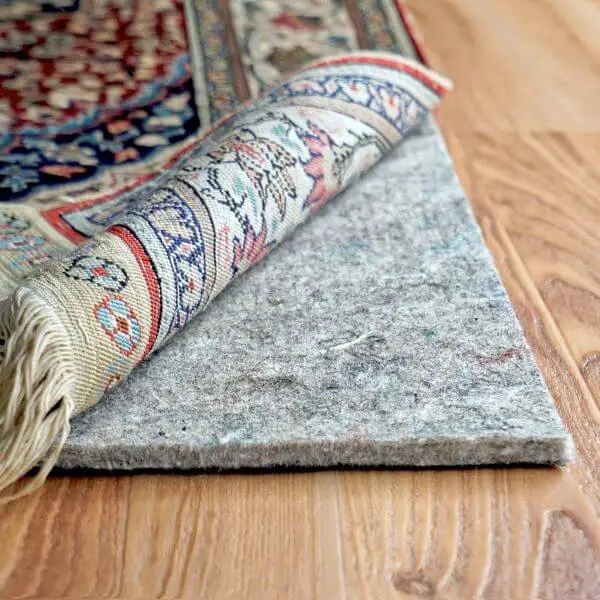
Rugs and Runners
In high-traffic areas, rugs and runners can be a lifesaver for your floors. They not only add to your decor but also protect the floor from wear and tear.
I choose RUGPADUSA rugs with a natural backing to avoid any discoloration to the floor’s finish.
Don’t Miss: Can You Put Rubber Backed Area Rugs On Hardwood Floors?
Regular Check-ups
Periodically, I inspect the floors for any signs of wear or damage, especially in high-traffic areas. Catching and addressing these issues early can prevent more extensive damage, keeping your floors looking their best.
Depending on the wear, a maintenance coat of finish might be necessary every few years to refresh the floor and extend its life.
Final Thoughts
Changing your hardwood floor color is a powerful way to refresh your home’s look. Whether you choose no-sanding, sanding and refinishing, or whitewashing, each method brings its own charm.
The right preparation, product choice, and upkeep are crucial. Follow the above guide for floors that not only look new but also last longer.

As a co-creator of FlooringFlow.com, Emma Sophia comes on board to answer all your questions related to any flooring problems. Together with John Henry, she’s gained extensive experience in fixing many flooring problems in their own house as well as in friends and family’s. Now, she wants to share her knowledge that she gained during floor remodeling, restoring, and DIY projects.


